.svg)



Empowering school leaders to create change through design
How small actions can lead to big shifts in schools.
There’s a lot of excitement in the education sector about the need to equip students with skills like critical thinking, collaboration, and communication, to prepare them for a global, innovation-driven economy. But that’s easier said than done. Major changes are needed to move from a decades-old model towards creating new ways to educate students. Schools and their leaders, particularly in low-income contexts, often lack the necessary resources and support.
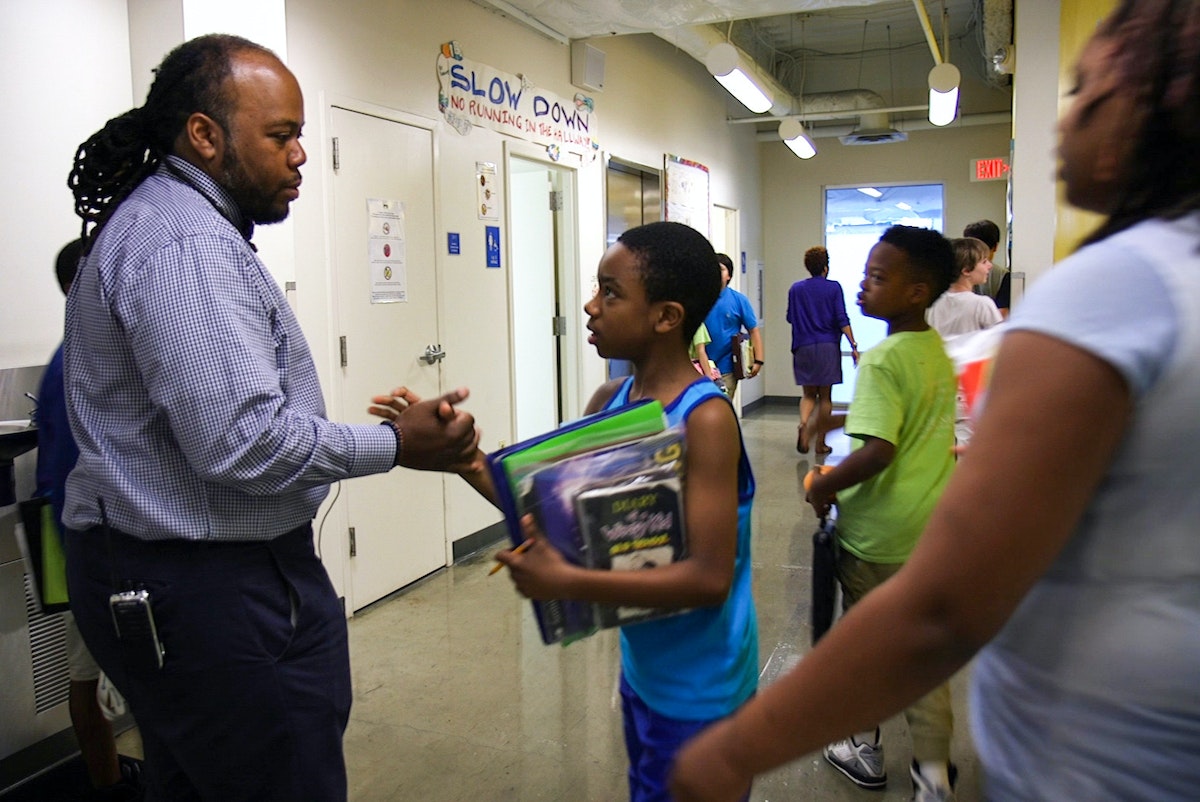
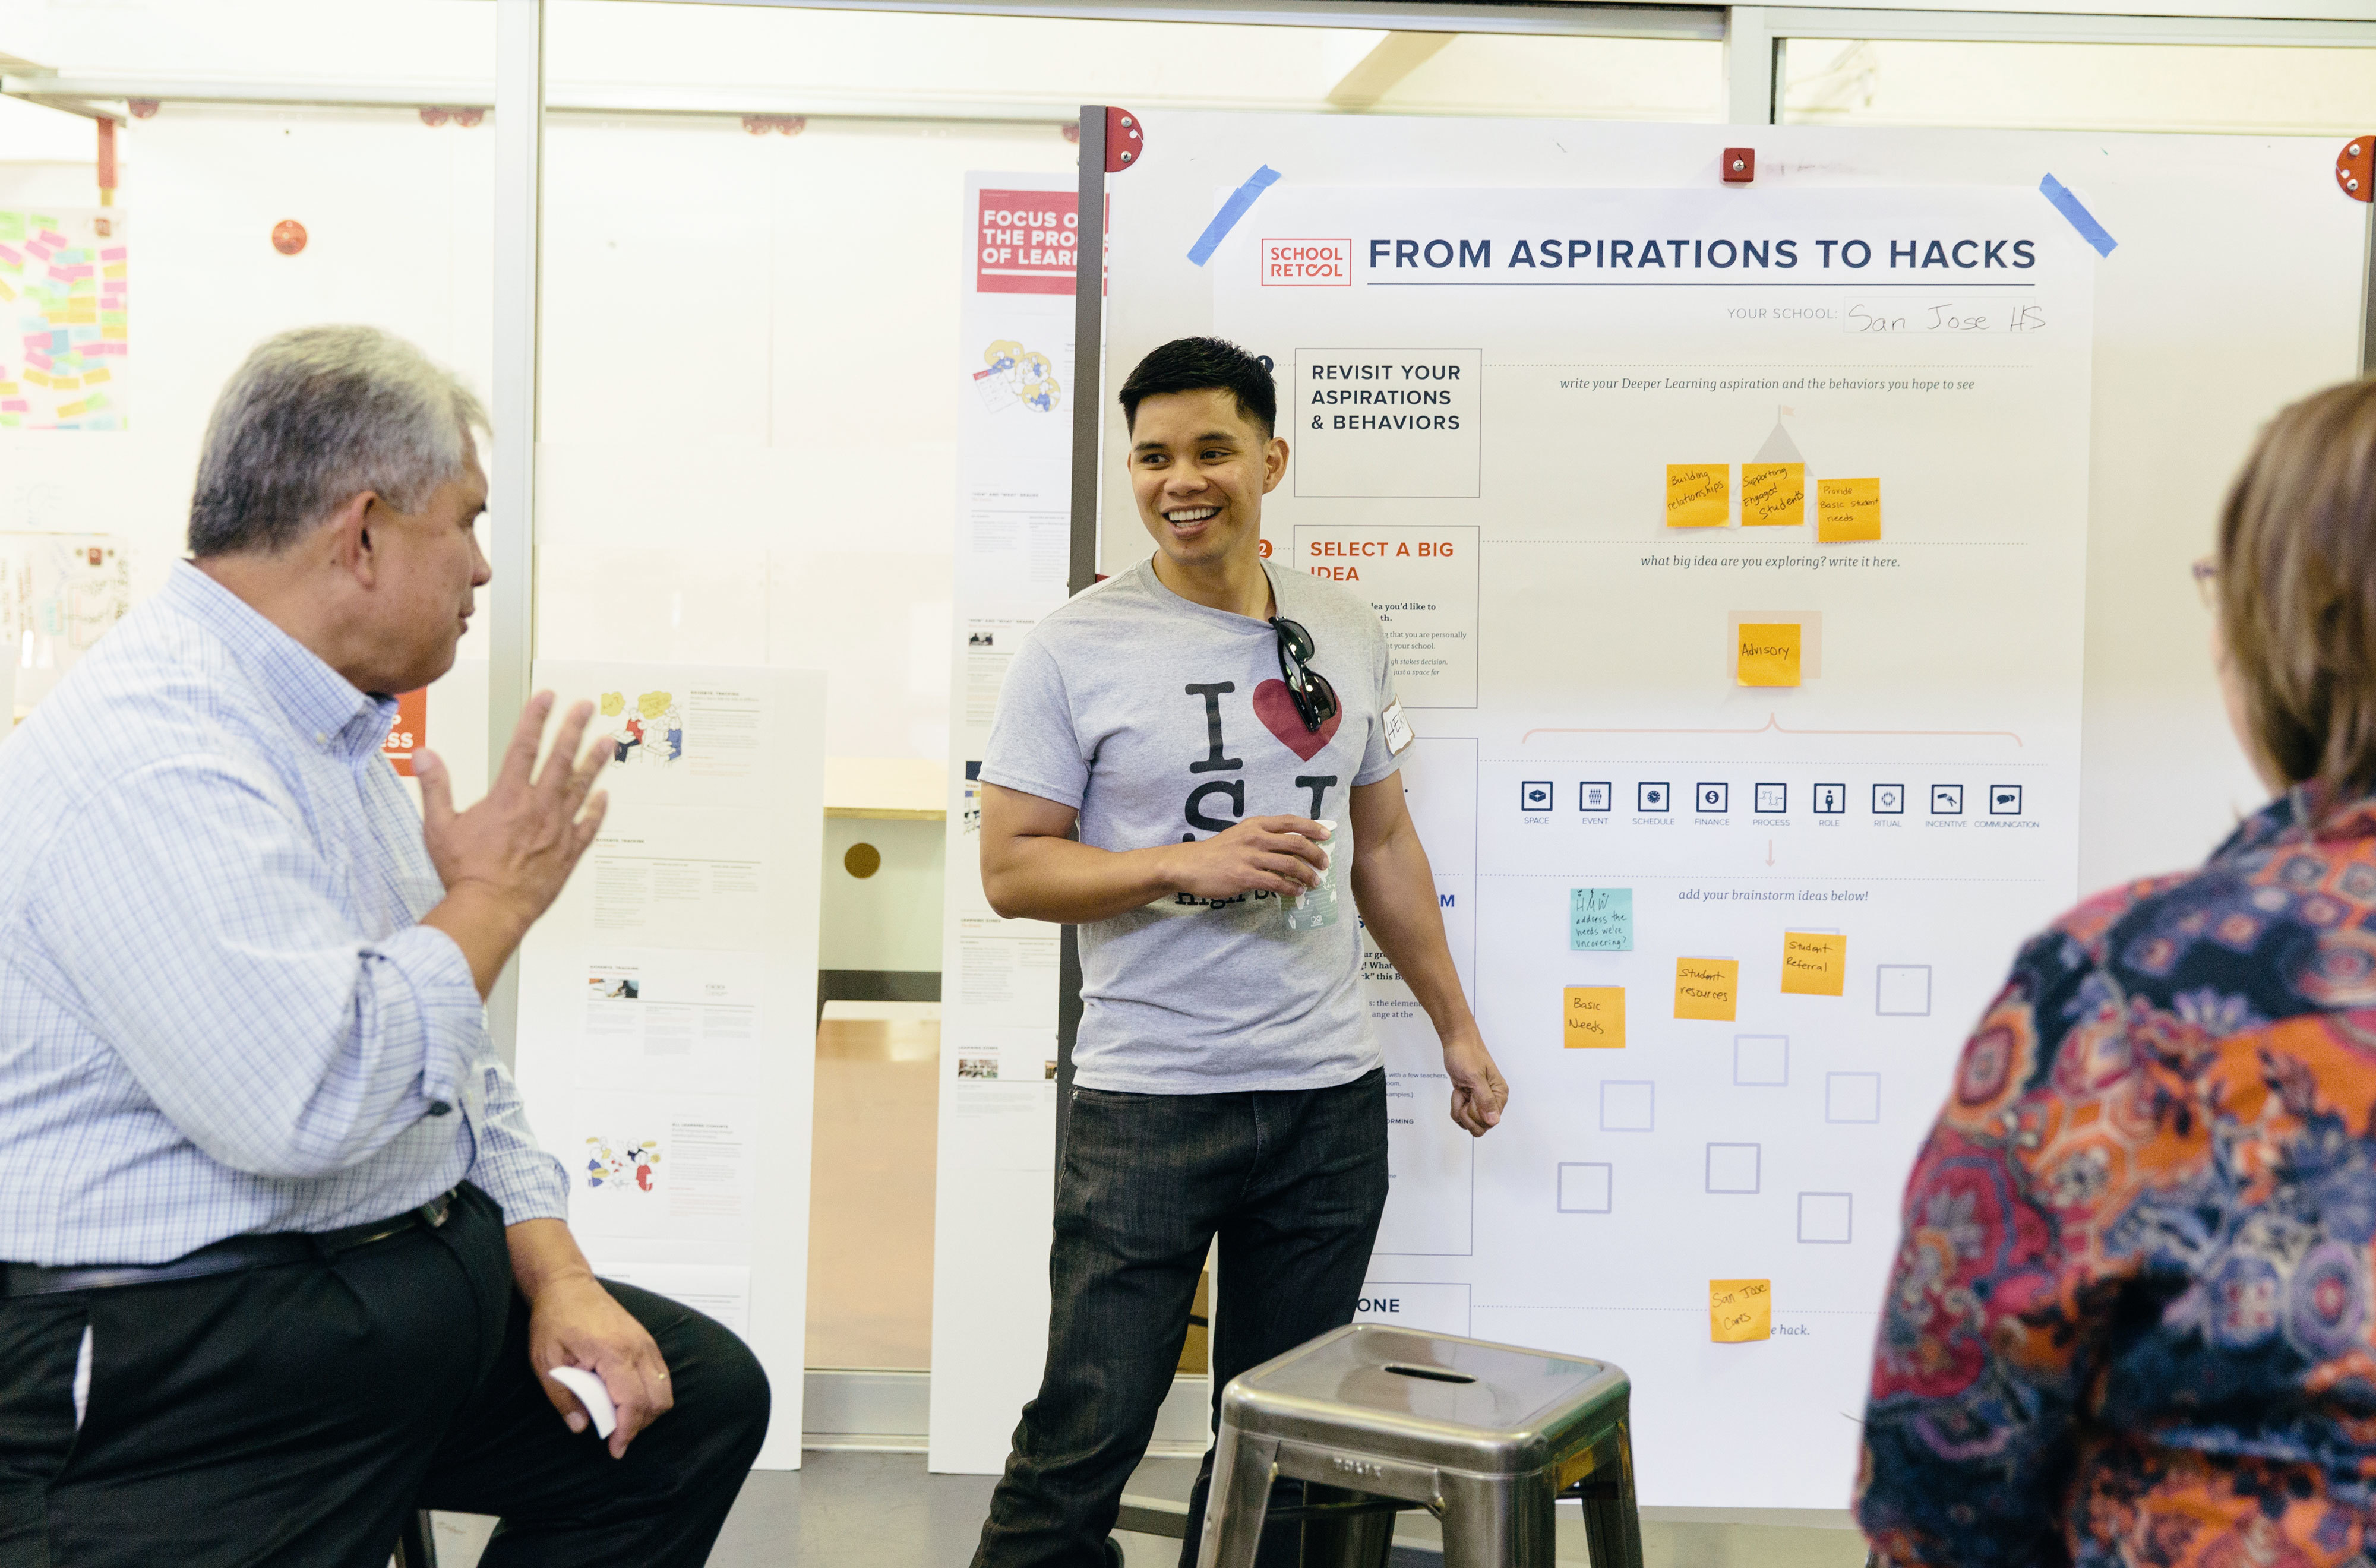
But given the right tools, school leaders can be the key to bringing this much-needed change to their schools. Knowing this, The William and Flora Hewlett Foundation partnered with IDEO and the Stanford d.school to create School Retool, a four-month-long professional development fellowship that trains principals to take a do-it-yourself approach to school change by conducting small, scrappy experiments called “hacks.”
The best part: They use the resources they already have available to address their schools’ needs now, without waiting for external funding or assistance. School Retool is available to principals at public schools where 60 percent or more of students qualify for free and reduced lunch, which is a common measure of poverty. The School Retool program provides research-based strategies for improving student outcomes, as well as training and one-on-one coaching on how to redesign school culture through easily achievable changes.
A Scaled Approach
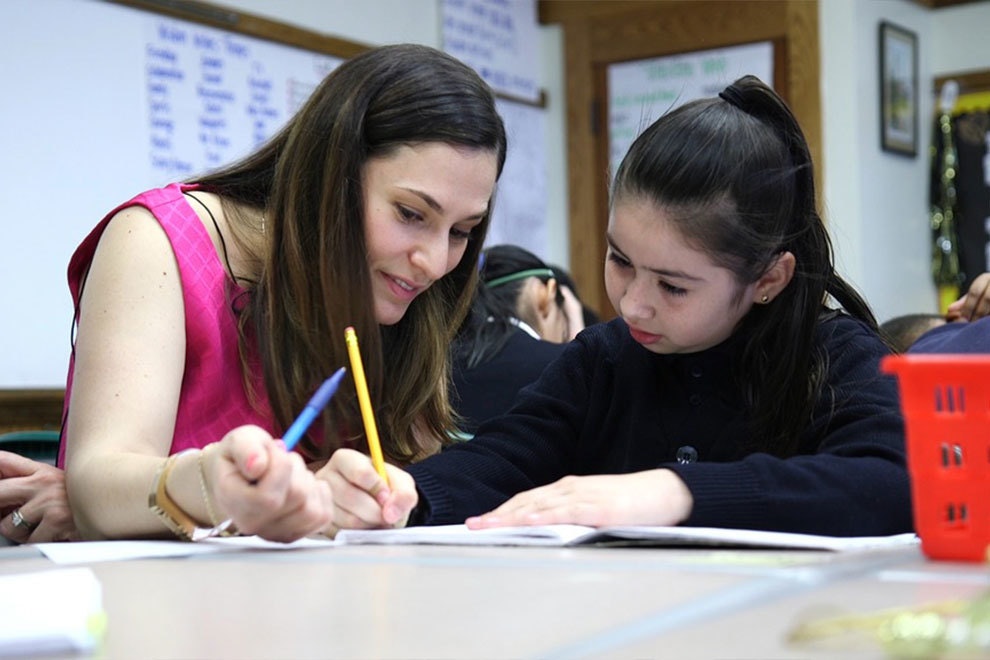
School Retool addresses a common challenge in creating change across schools: Each school has its own people, culture, and needs, so programs need to be flexible. The fellowship helps school leaders define their aspirations, and provides them with inspiration through “Big Ideas” that have proven to be successful in different contexts in education. It then supports them to start small with hacks that help them learn how to implement these ideas in their own school. The program scales through regional cohorts of principals who learn from each other as they go through a process of setting goals, designing hacks, reflecting on the learning and progress, and making improvements to the next iteration.
Small Steps Toward Big Change
As School Retool has rolled out at schools across the country over the past two years, it’s becoming evident that small changes are adding up to major progress, and that the small hacks approach is helping leaders go from planning to doing. Take, for example, Marthaa Torres, the principal of a low-income San Francisco high school who started with a small experiment with one struggling student, trying to create a more personalized learning plan for him. “The hacking approach is a framework that will help me eventually get to the kind of school that I’m trying to create,” Torres said. To build on the learnings of her “hack,” she created and expanded a personalized coaching program for the student’s peer group of older Latino boys. Her goal is to roll out additional advisory support in the next school year. What started as a “hack” to give agency to a single student is beginning to affect the school-wide culture by incorporating student voice into decision making.
Creating a Movement
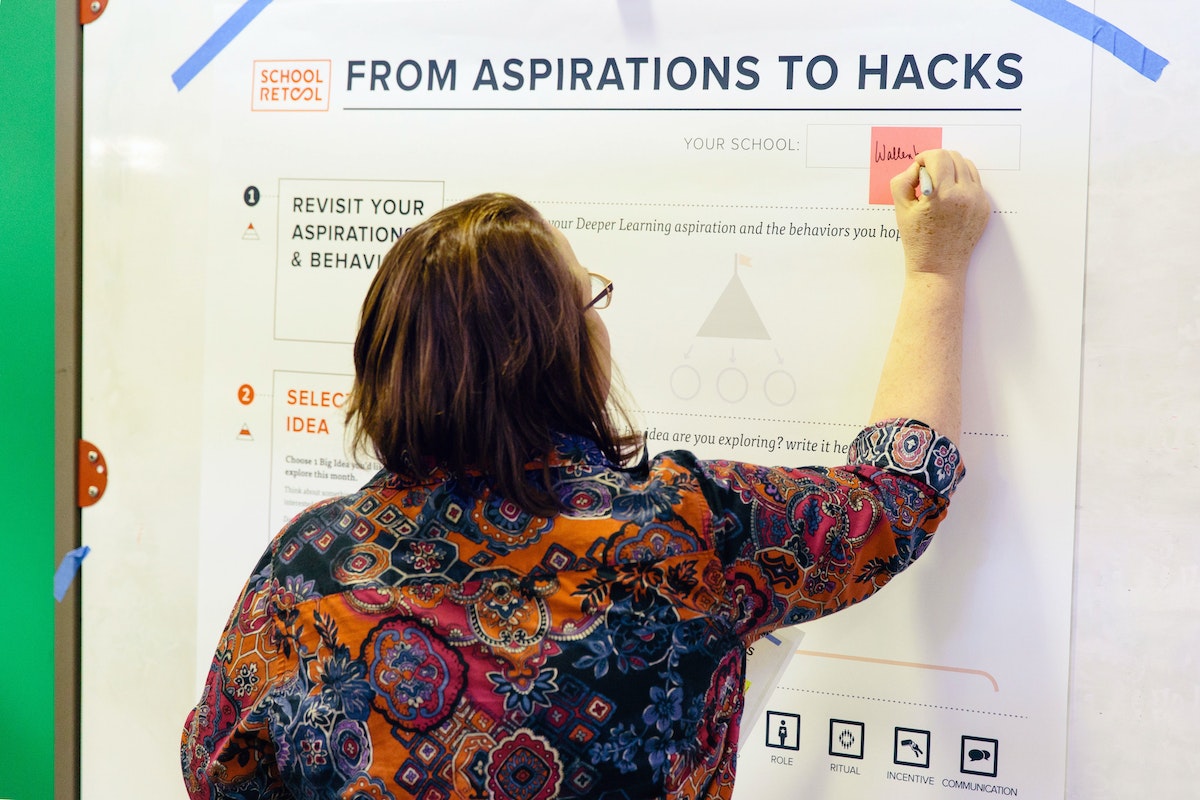
The School Retool fellowship launched in 2015 with a pilot for 16 principals from seven San Francisco Bay Area school districts, reaching more than 12,000 students. School Retool has since hosted cohorts for school leaders in Washington D.C., Detroit, Virginia, Idaho, and Colorado. By the end of 2016, 164 school leaders of over 114,000 students had participated in the fellowship program.
In addition to the in-depth work with school leaders, School Retool is creating a national dialogue around change in schools. Its first national effort drew more than 1,500 principals in the Shadow A Student Challenge, who spent a day walking in students’ shoes to build empathy and gain insight into their students’ school lives.
Learn more about how more school leaders are enacting change: bringing a sense of true belonging to a school’s culture; engaging students as active learners; hacking towards literacy; retooling for equity; and more.
WATCH: Marthaa Torres: Adopting a Hacking Mindset on Vimeo.
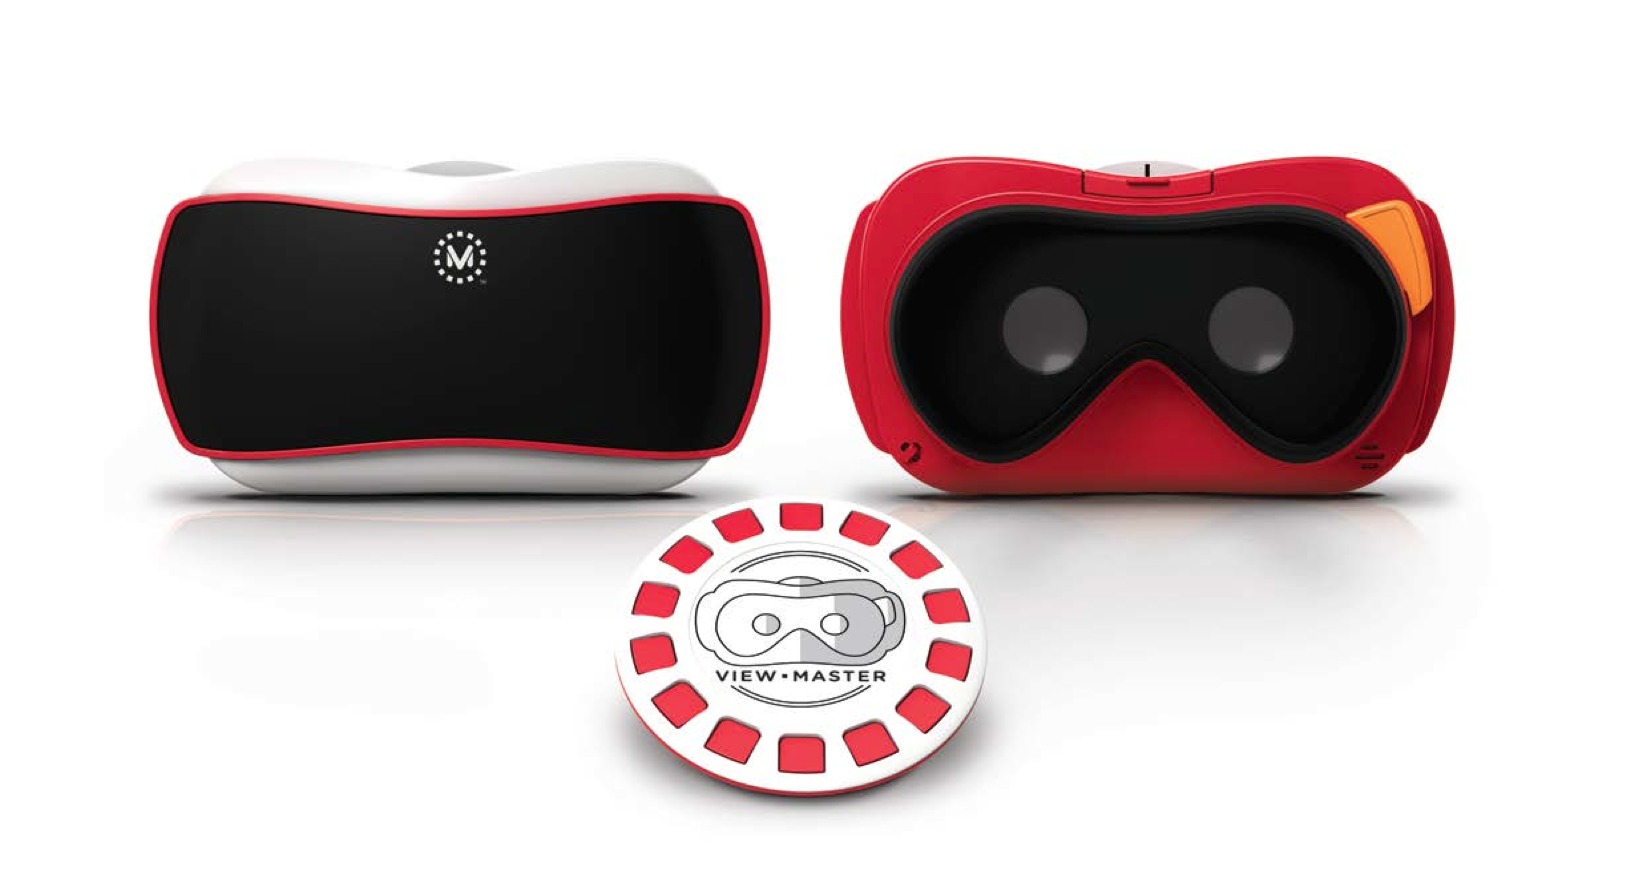
Modernizing the next-generation View-Master
Designing a new virtual reality case for an iconic toy.
Remember your first View-Master? The sound and feel of that iconic camera-snapping motion, the excitement of seeing those vivid images in the form of your own personal slideshow? Introduced in 1939, this stereoscopic toy brought beautiful landscapes and famous attractions to the eyes of kids around the world.
Flash-forward more than 75 years, and the View-Master has been reincarnated to spark that same sense of wonder for the digital age. The redesigned model, the result of a project collaboration between IDEO and Mattel, is a modern case that bridges technology with play. The new View-Master preserves the classic features of the original toy, such as the original lever and wheel, but offers a much more immersive, 360-degree virtual experience.
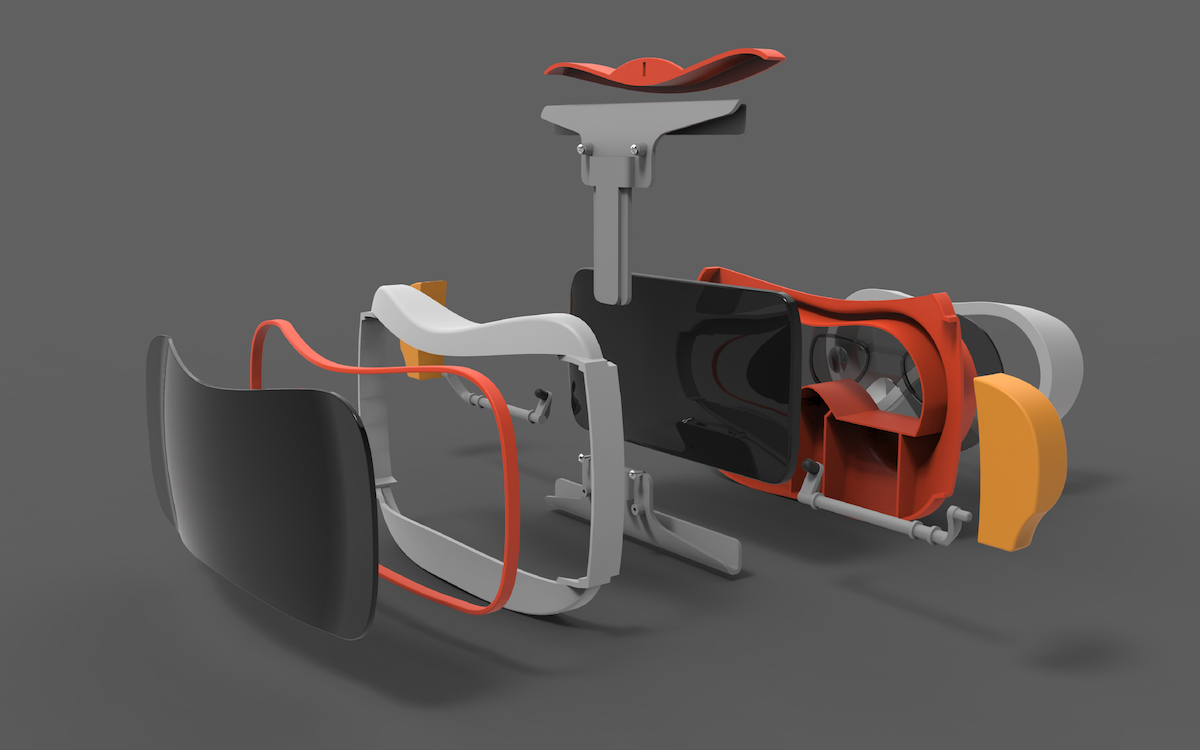
Here’s how it works: Download the View-Master app and slide a smartphone into the sleek new red-and-white headset. From there, the phone’s camera will scan the QR codes on the reels to view a wide variety of images, such as wildlife, outer space, and a dinosaur landscape. Two slightly different images are displayed side by side on the device's screen. As each of your eyes looks at just the image directly in front of it and tries to reconcile it with what the other eye is seeing, a 3D effect is created. By moving your head around with the viewer over your eyes and taking advantage of the sensors within your phone to sense direction and position, you can travel through each of the scenes, exploring each of the different settings.
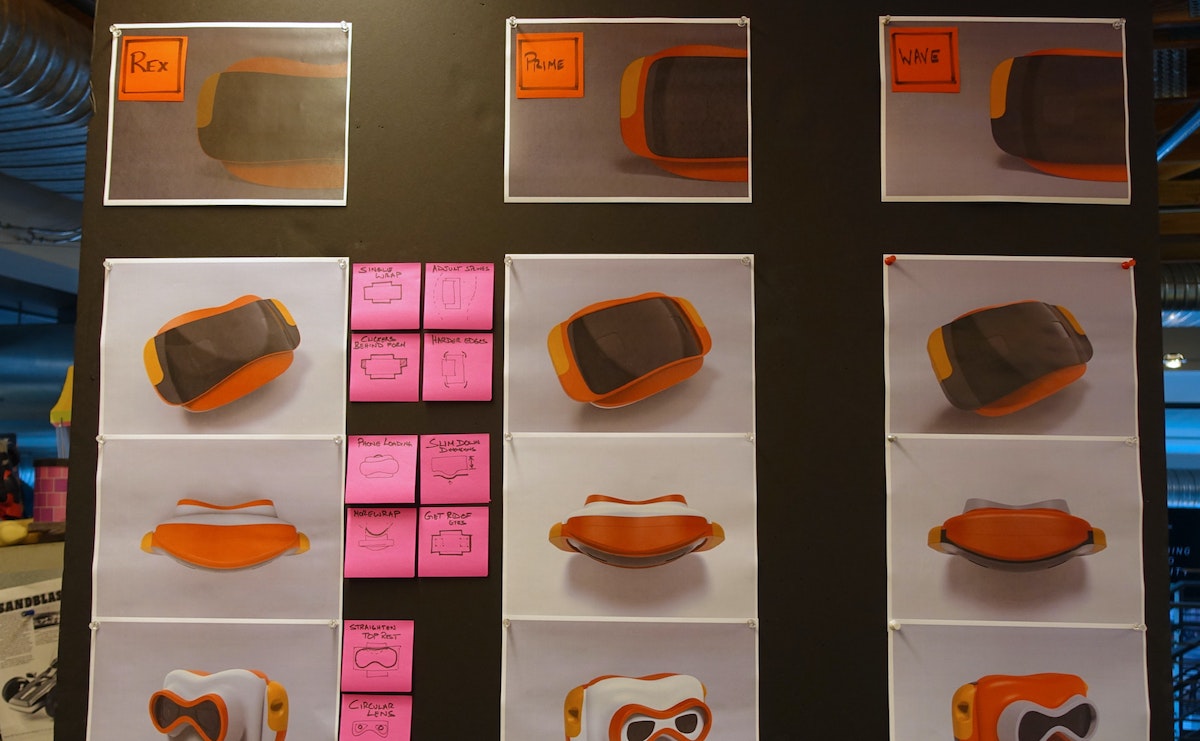
After working alongside Mattel to understand the heritage of the View-Master brand, researching the potential for VR and play, and exploring a variety of materials for the new device, designers created several prototypes that they tested with their core market: kids. As a result, the final design accounted for things like whether it could pass a drop-test or fit into kids’ hands.
Beyond the joy of pure play, the technology that powers the new View-Master also opens up a new world of possibilities for learning. Imagine turning a page in a textbook and seeing dinosaurs come to life. Or a virtual tour of an art museum through a set of View-Masters.
"We view this as just the beginning," said Doug Wadleigh, a Mattel executive, in an interview with CNET. "Obviously, we're getting in this space pretty early. The goal is to create the View-Master brand for the next 75 years."
Orchestrating a genetic symphony
An interactive TED exhibit that turns genes into music to spark conversation about personalized medicine.
Genentech is a biotech company that tackles difficult-to-treat medical conditions across the globe by creating innovative treatments. As a sponsor of the TED2012 conference, Genentech approached IDEO to partner in creating a “social space” for the TED exhibit hall that would captivate participants in an interactive brand experience and garner excitement around the future of personalized medicine.
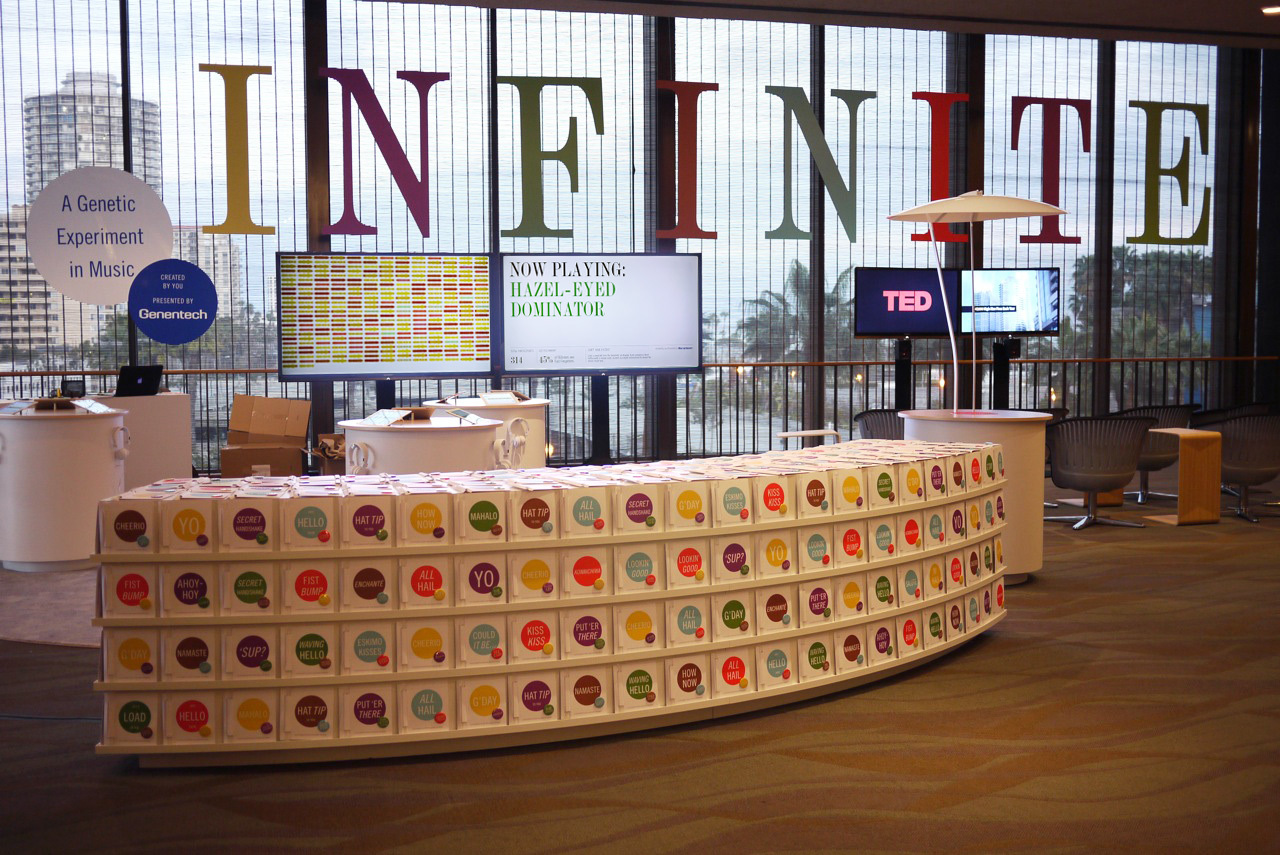
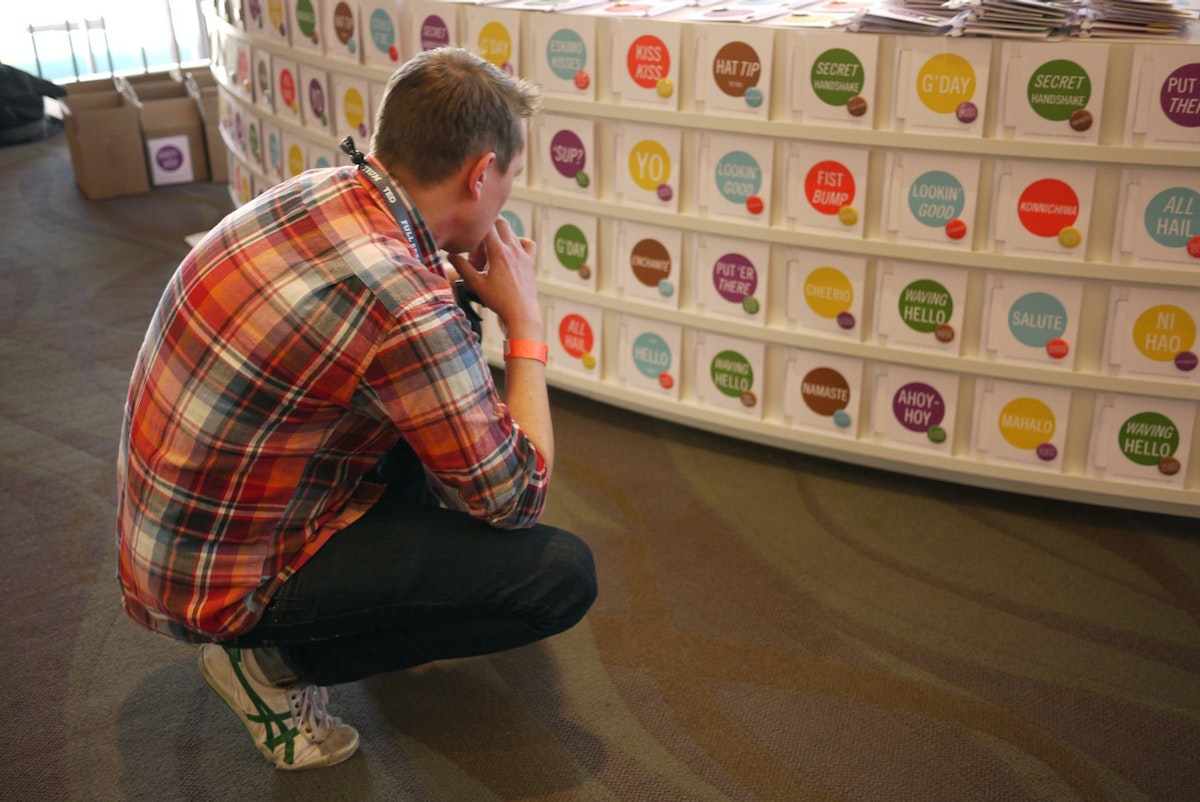
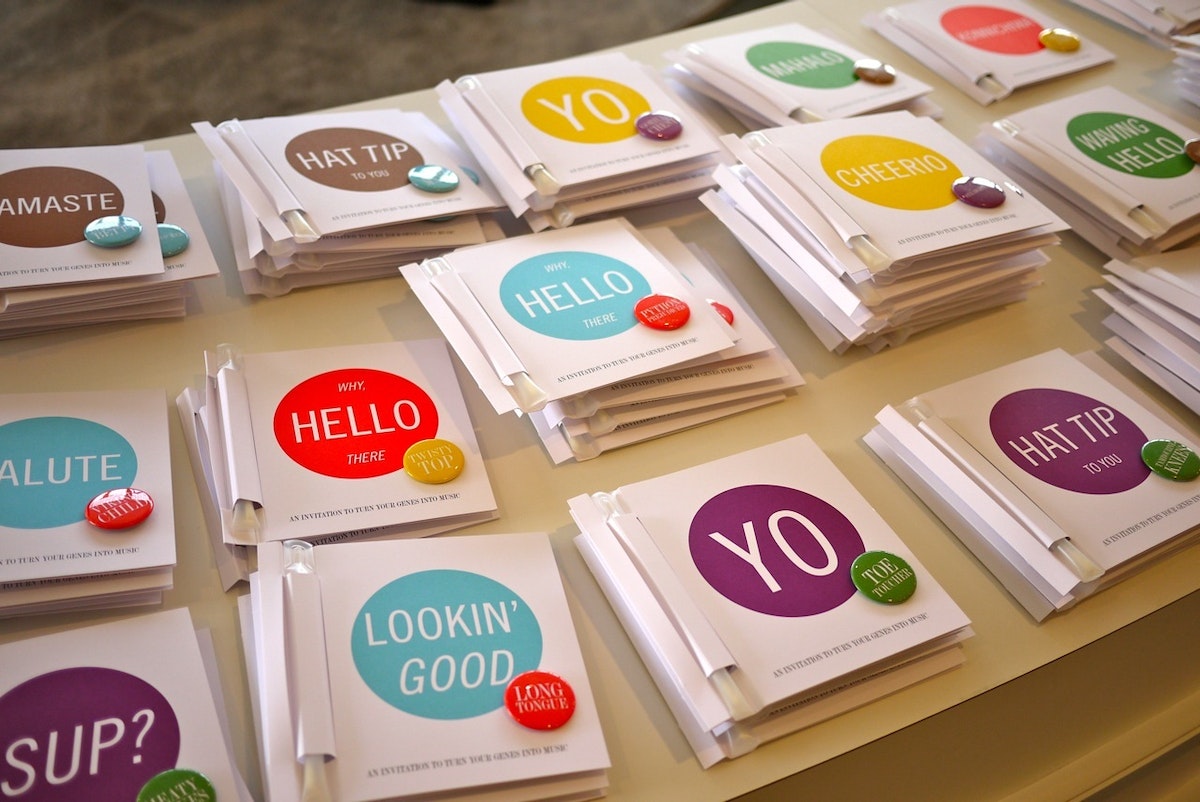
To make leading-edge science more accessible to the masses, the team landed on an exciting new provocation: What if we could turn genes into music? IDEO worked closely with Genentech to develop an immersive genetic experiment that could incorporate traits of the TED community, using the company’s brand new technology for overnight gene analysis. A TED participant would choose a colorful trait pin packaged with a cheek swab kit and corresponding barcode, allowing them to leave a genetic sample one day and return the next day to discover that four SNPs of DNA had been analyzed overnight and translated into a unique musical track.
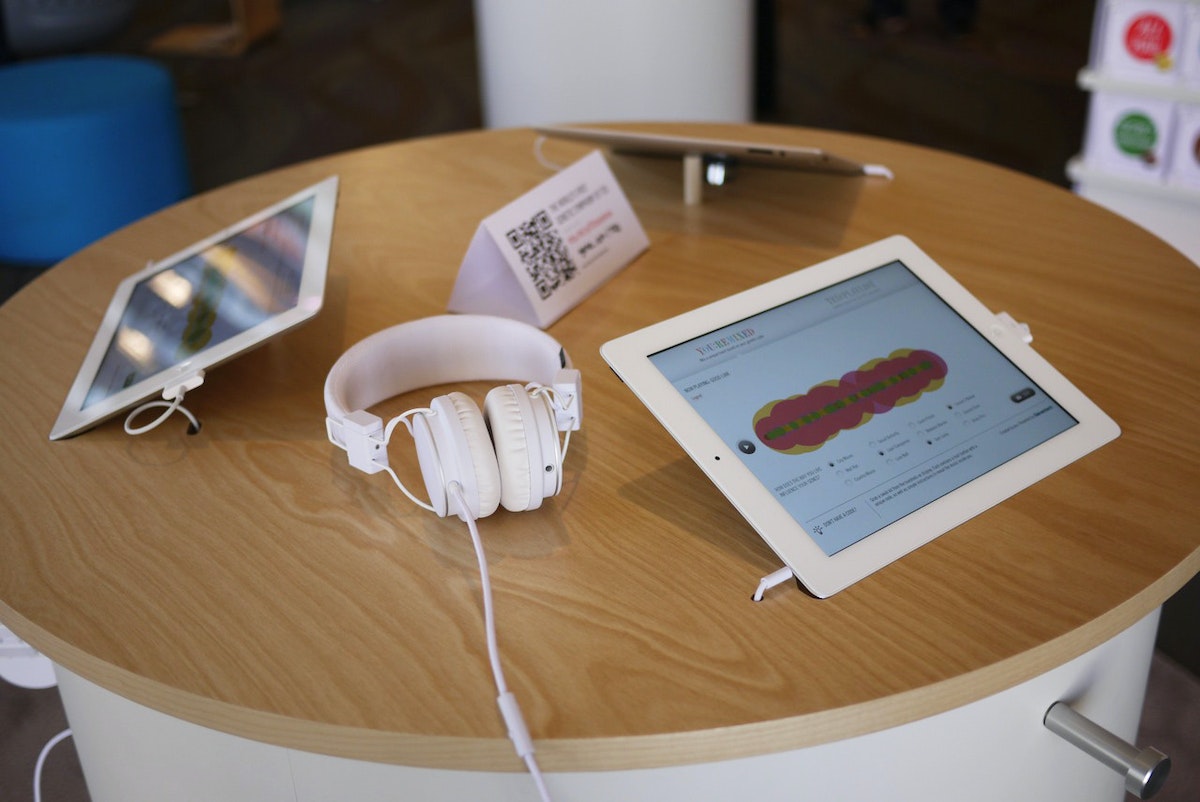
The IDEO team developed the concept, prototyped it with scientists, musicians, and sound engineers, and designed every element of the physical and digital experience—from the swab kit and packaging, to the built space and listening stations, iPad app, and other digital touchpoints. At the heart of the experience was music, including an algorithm that could generate 6500 unique musical combinations to reflect the genetic diversity of the TED participants.
Genentech’s “Infinite Variations” exhibit at TED2012 created the world’s first genetic symphony, an innovative and colorful blend of science and music. With the exhibit, Genentech sparked novel, approachable conversations about the role of genetics in medicine.
Of the 1850 attendees, over 1100 joined the genetic experiment in music and walked away with a new understanding of personalized science—and of their own genetic makeup.

Healthy lunchbox foods that are good for the planet
A conversation with Megan Miller, cofounder of Bitty Foods.
What happens when you serve kids food made with cricket flour? And what do parents think? That’s what IDEO and Bitty Foods sought to learn during a collaboration to explore new kinds of lunchbox foods as a means to discover opportunities for alternative sources of protein.
We talked to Megan Miller, cofounder of Bitty, the Bay Area startup that makes delicious foods with cricket flour, about the collaboration.
Listen to the full audio story below, or go to Soundcloud.

Quick + Dirty Design Tips: Animation in After Effects
Animation tips from an After Effects power user
For this method of animation, make sure to use only lines in your Illustrator file. The idea is to animate the lines across their own path, so the way you design them will play a big part on how elaborate your animation will be.
Watch this video for a quick step-by-step guide to animating lines in After Effects:
- When your Illustrator file is ready, import it to After Effects. You can simply drag your Illustrator file to the Project area or go to File > Import > File.
- Drag the imported file to the Timeline. It will automatically create a Composition.
- Now you must turn your Illustrator file into Outlines that After Effects can control. On the timeline, right click on the layer and select "Create Shapes from Vector Layer.
- The next step is to animate your outlines. For that, you will need to add a Trim Paths feature to your new layer.
- On Trim Paths, use keyframes for Start/End to change when and where you want your paths to animate. If your file has multiple lines, you can choose to animate them simultaneously or individually.
This technique is a simple and effective way to create powerful motion graphics for storytelling, user interface behaviors, or even a simple animated gif. Hope you enjoyed it!
Adobe After Effects is one of my favorite tools for prototyping user interfaces, creating video scenarios to communicate a context of use, or simply crafting stories through animation. It's a tool that allows you to explore and visualize ideas, and there's no right or wrong way to use it. Here are a few tips for using After Effects to animate vector lines imported from Adobe Illustrator.
Why You Should Keep Making Stuff By Hand
Don't let technology stop you from getting your hands dirty
So, when the opportunity comes up, I like to turn off the computer and focus on creating artifacts. While an object is just a thing that serves its purpose until it’s tossed out, an artifact sparks an invisible conversation, a connection between the human who made it and the human experiencing it. Even something that people don’t think twice about, like an event name tag, deserves to be well designed.
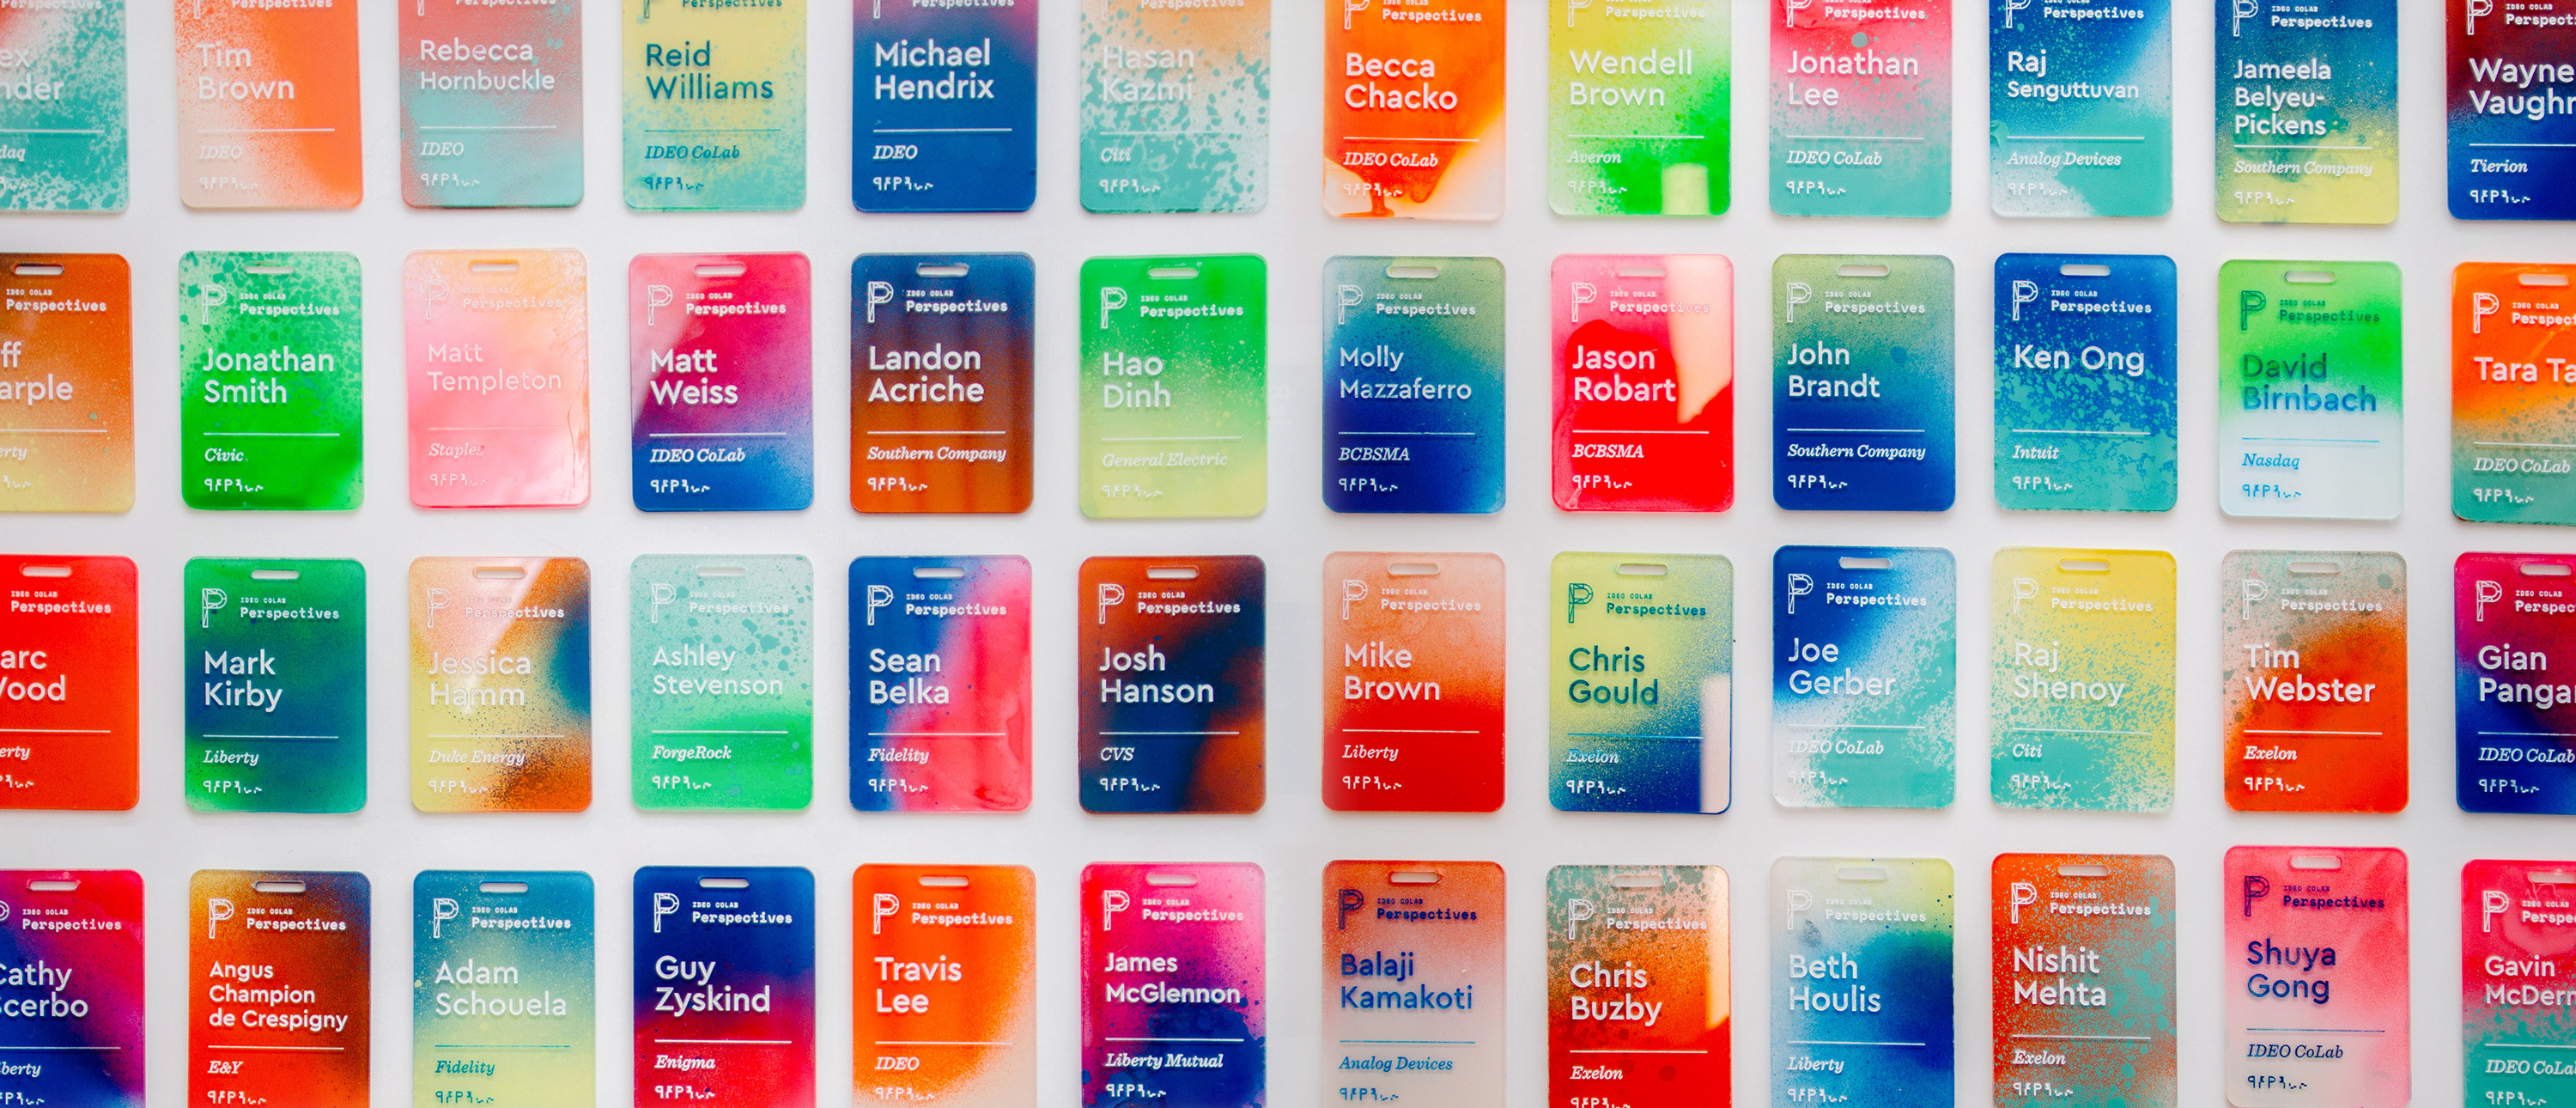
That belief drove me to create a collection of one-of-a-kind name tags for a CoLab event. I wanted to make something with my hands that would bring a level of craft to our content. The tags served as the icebreaker for more than a few conversations, and reminded people at the tech-focused event that there's a human element to everything. Many attendees we reached out to a month later said that they still had the tag on their desks.
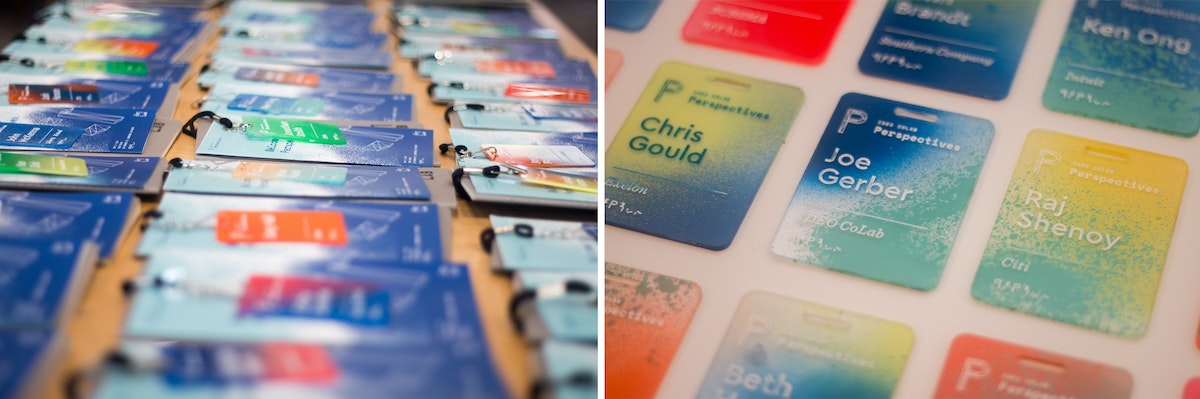
The process was simple, but arduous: I laser cut blanks, etched the names, spray painted each tag using unique colors and angles, and finished it off with acrylic screen printing ink to make the names readable.
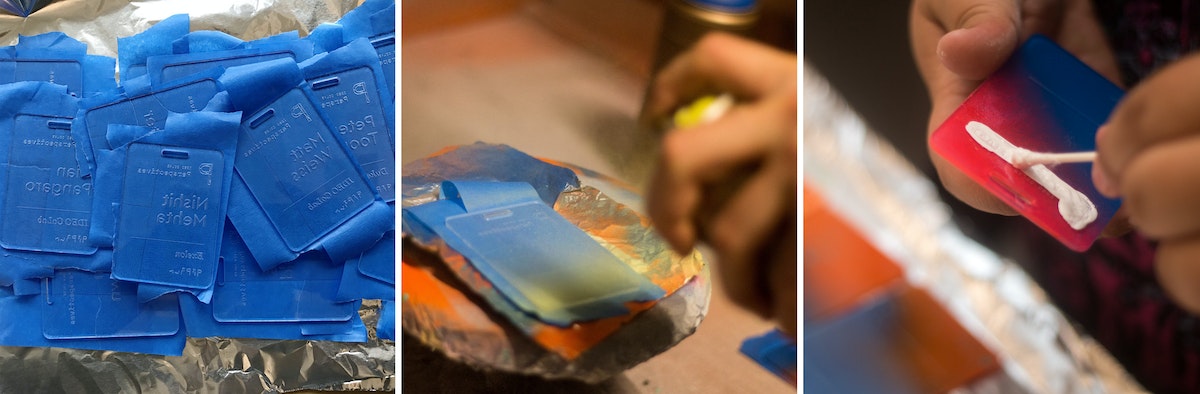
Here's how I did it, step by step:
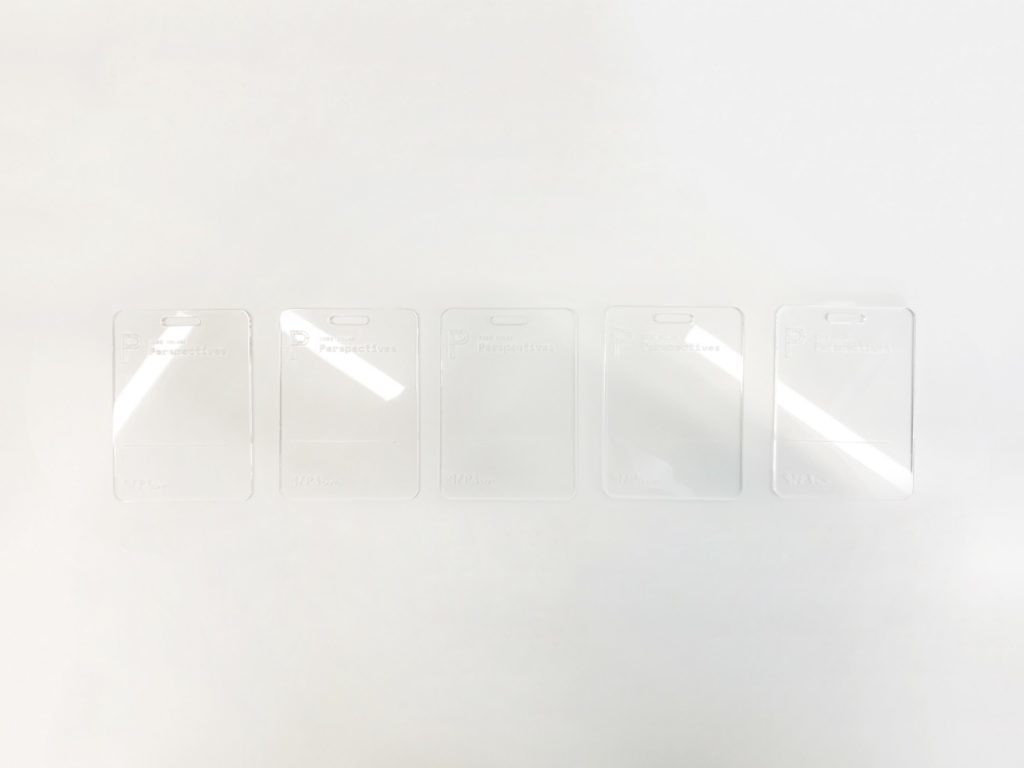
1. Creating the blanks
I designed the negative of the template so that I could later use it as a jig. I used 18 x 24 inch sheets of 3mm acrylic, so that with the name tags at 2.5 inches x 3.5 inches, I could fit about 32 comfortably in each batch (as opposed to 38 if I used all available space and threw away the negative).
Acrylic sheets tend to melt and then cool quickly in the laser cutter, leading to possible sticking, so I usually add about .2mm to my thickness settings to compensate (i.e. I was using 3mm acrylic, but put 3.2mm in the settings). There are two benefits: One, you guarantee that you actually cut through the sheet. Two, it also gives you a little bit of wiggle room so you don’t end up with hard to pick out joints.
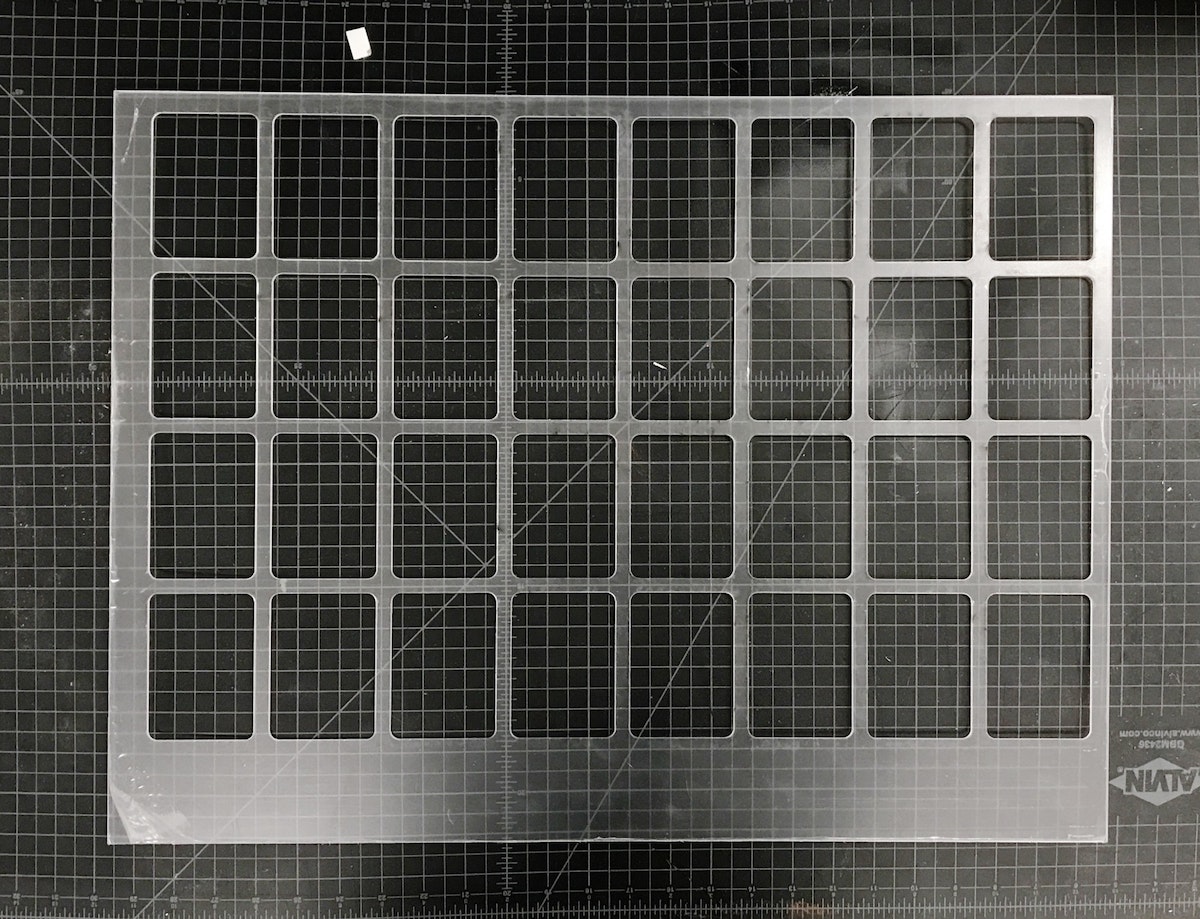
Pro tip: The key to making the most of your acrylic is to leave space for future cuts on the same piece. Instead of designing my reusable jig with all the name tags in the center, I threw them to one side so that I could use the other end again. After I cut the jig, I could get 38 tags out of each subsequent batch because I could simply throw away the negative. Another bonus: When there’s excess acrylic on one end, you can always tell which side goes in which direction.
2. Etching the blanks
Once the blanks were cut, I needed to take the protective plastic off of one side, so that I had a clean surface to etch onto. I peeled the tags, slipped my template jig back into the cutter, and dropped the blanks into place.
The etch file is the same as the template jig, just with a red cut box around the perimeter of the file denoting the edge of the acrylic.
Once I had an etch file ready to go, all I had to do was push the file to the top left of the cutting area and check the focus points of the laser on the first tags on the first and second rows. Since the etch file is in the same grid form as the old cut file, everything is already spaced for me. The etch settings held ink best at around 74 to 76 percent power at 100 percent speed.
One final thing to note: We don’t want to cut anything (we’re just etching), so after setting my etch power, I set the cutting lines to 0 percent power and 100 percent speed, so we just blow right past them.
3. Taping the etched tags*
Once the blanks were etched, I peeled the plastic off of the back of the tags, then covered the etched side of each in painters tape to keep them clean.
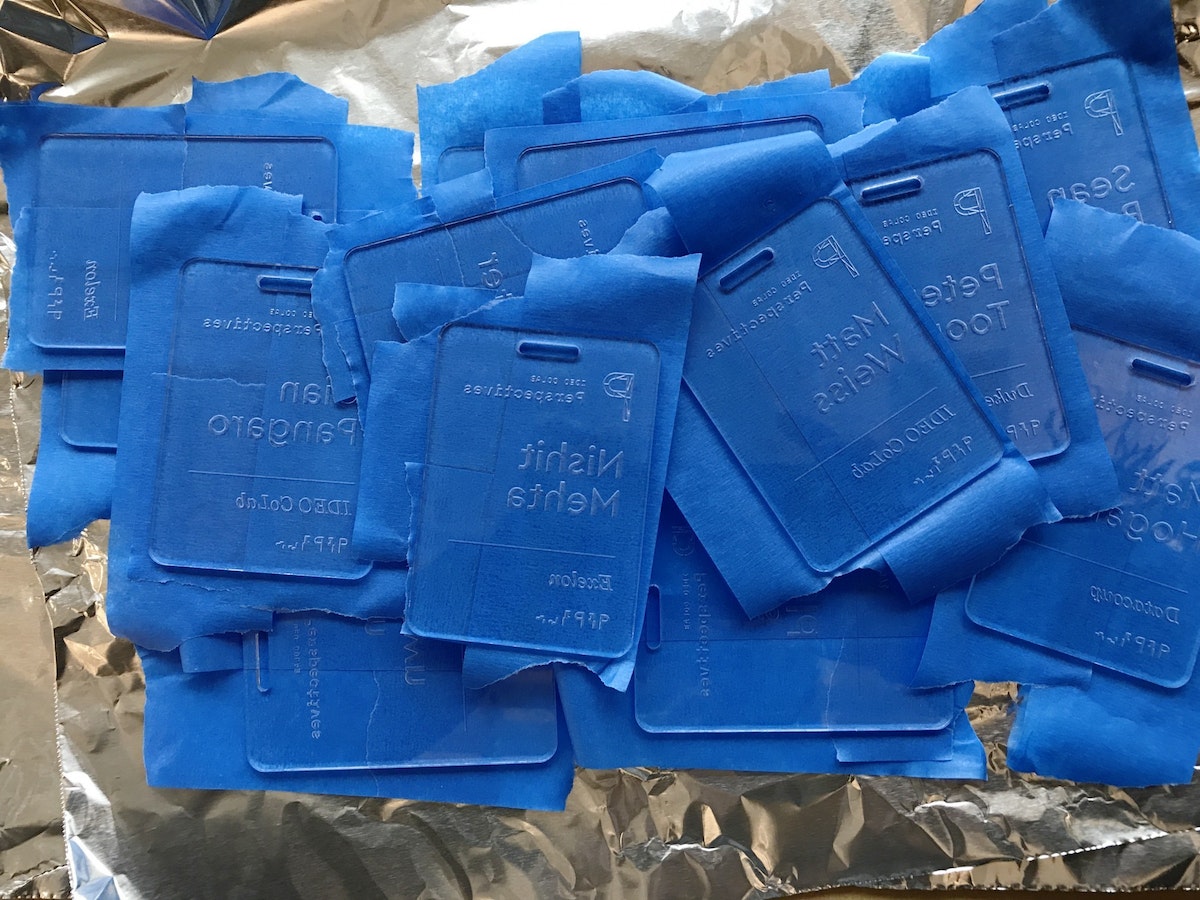
4. Spraying the tags
After everything was taped, I slapped some aluminum foil in the vent hood and got to work spraying each tag. The process allowed me to bring out some of the old airbrush tricks my dad showed me as a kid, like holding a tongue depressor at a 60 degree angle in front of the nozzle to create thicker splatter. I used two to three colors for each tag, at varying angles.
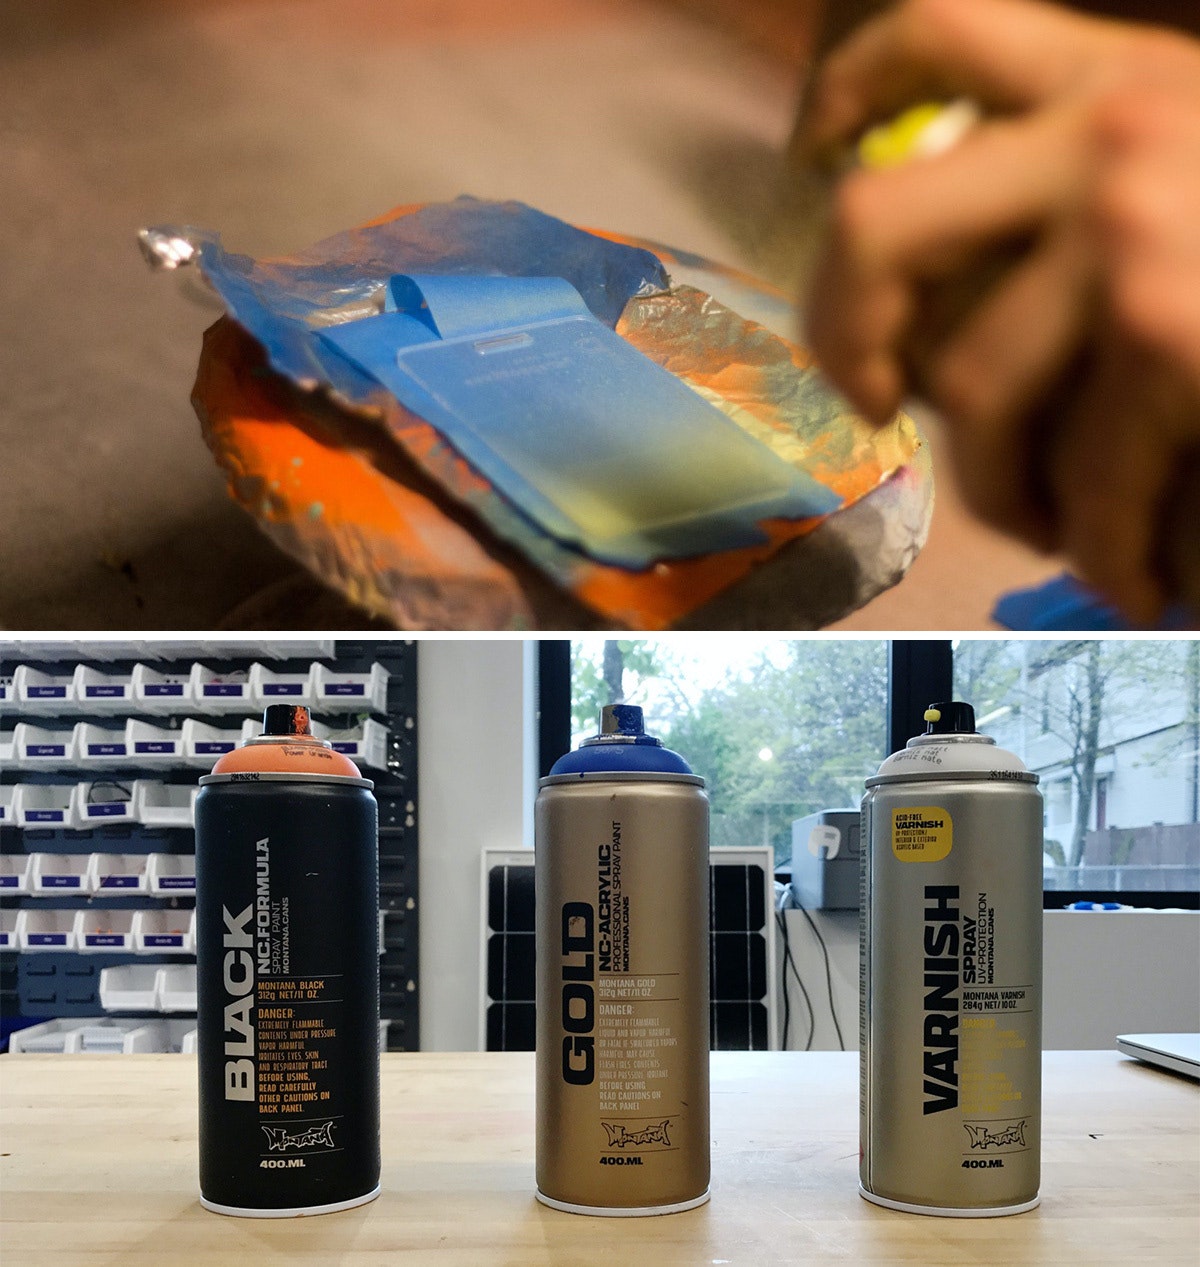
I used Montana brand spray paints, and I definitely recommend using the BLACK formula. Over the course of the project, it dried on the acrylic within four and-a-half minutes, which is pretty insane. The GOLD formula was comparable, but my run of the mill Krylon paints took much longer, so it’s worth the extra bucks to buy Montana.
Pro tip: If you’re spraying a bunch of parts in a hood, aluminum foil is actually a great material for coverage as it tends to not stick to your parts like paper.
5. Sealing the tags and revealing the beauty
After the sprayed tags had dried, I hit the painted side with a couple quick coats of the Montana clear matte varnish so that they wouldn’t stick to each other. When everything had dried, I peeled off the painter’s tape—my favorite part of the project.
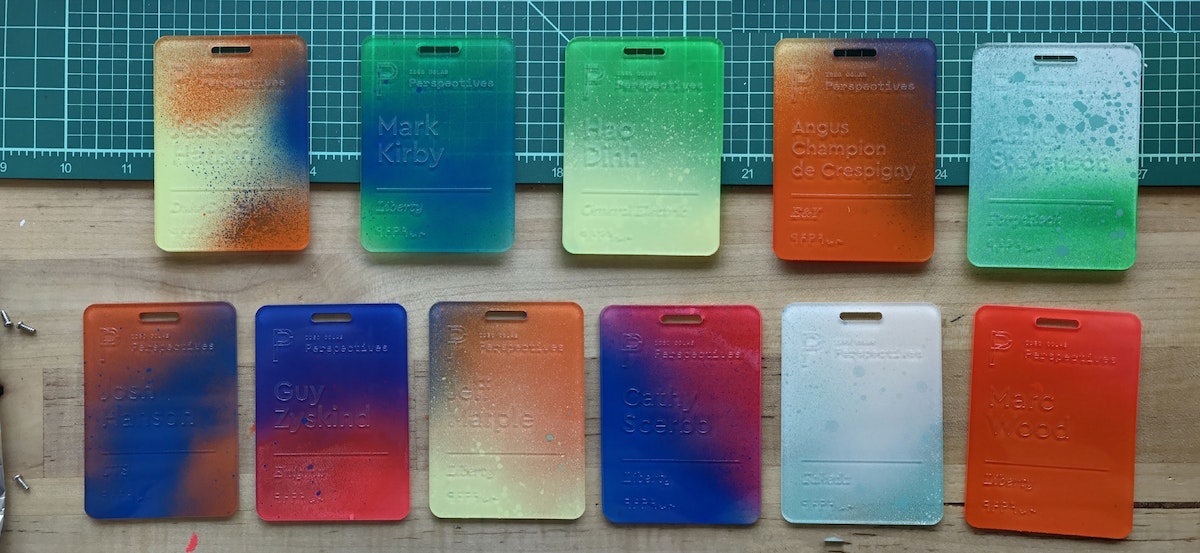
6. Applying the ink inlay
Next came the most time-consuming part: the ink inlay. I used speedball acrylic screen printing ink for its fast drying time, and how easily it wipes off acrylic. I liberally brushed and swabbed the ink into the etch using a Q-tip, then quickly wiped the excess off with a paper towel. Once dry, they were ready to go.
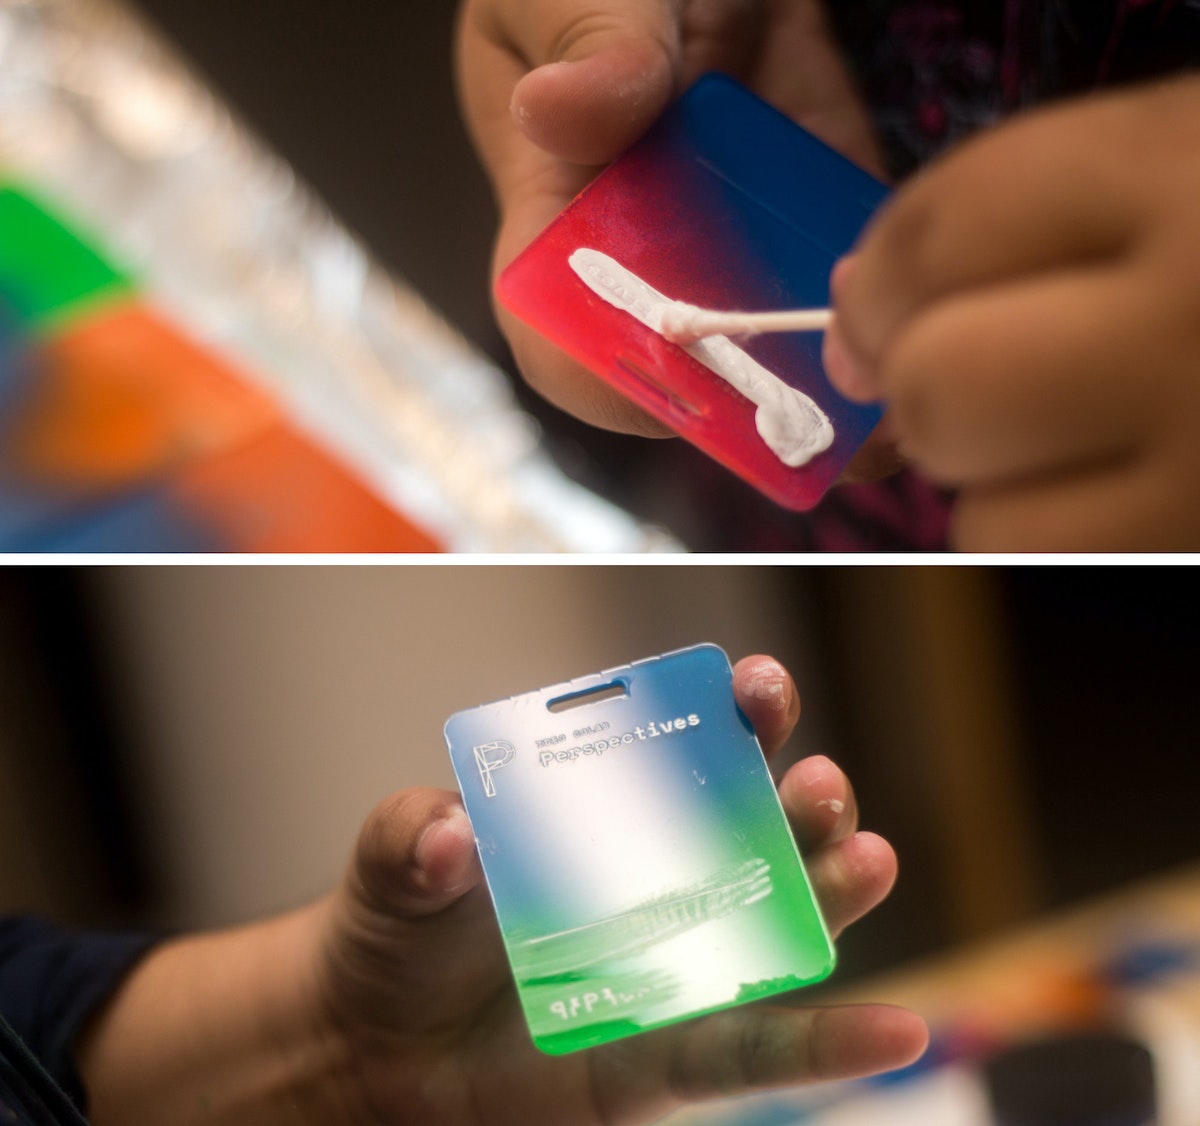
That's it!
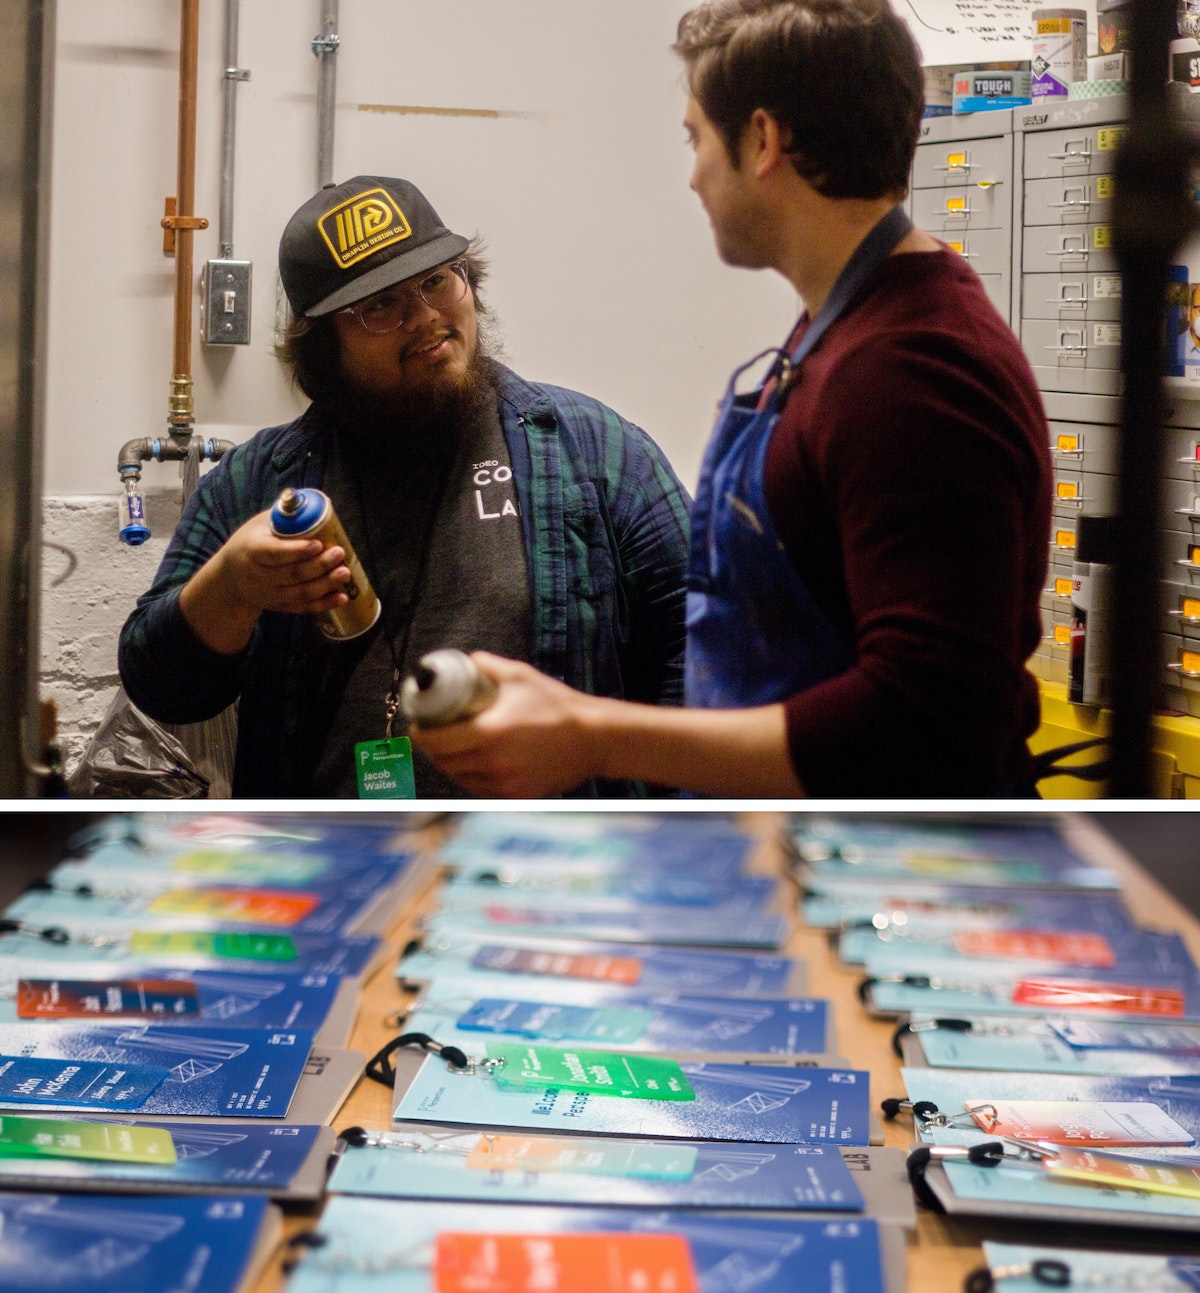
*Imperfect process: I know what you’re thinking—why didn’t you just remove one side of the plastic before etching, spray that side, then remove it from the other side, then etch that? I did! After a few batches, I added the taping step because I noticed the spray paint was eating away the plastic coating that kept the paint off the front of the tags.
I work with CoLab, IDEO’s tech-focused R&D group. I’m also someone who’s committed most of my life to craft. Luckily, my day job allows me to bring the two together. But the minute you start making a living from your craft, problems start to surface. You get burnt out. You compromise your vision to deliver things on time. At that point, you're no longer transforming objects—you’re just pushing matter around.
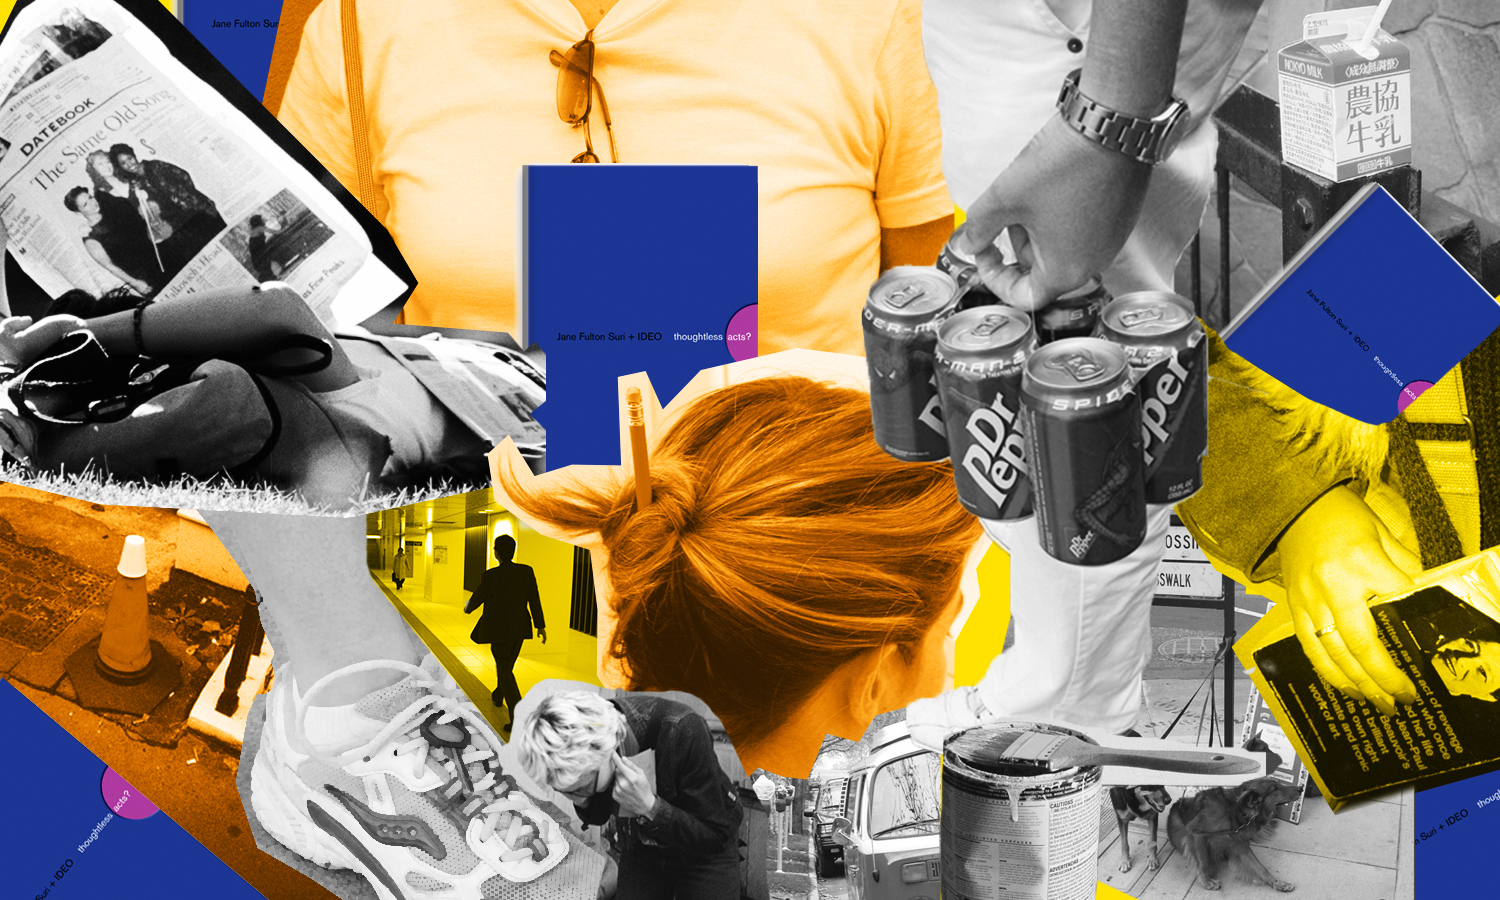
Thoughtless Acts: Single-Serve Medicine
Thoughtless Acts: Single-Serve Medicine. The intuitive ways we adapt and react to things in our environments
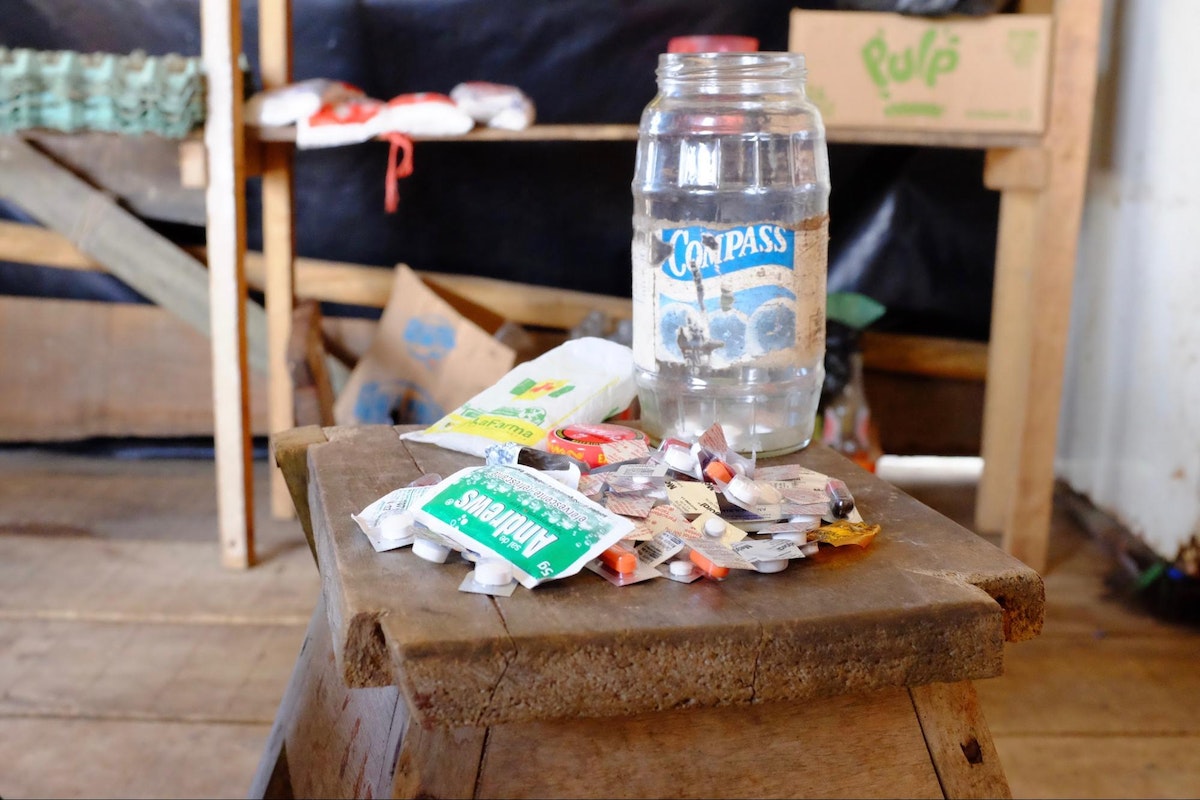
I snapped this photo in the Amazon jungle town of Iquitos, Peru. A jar full of individually cut blister packs sat in the corner of a general store set up in front of a family’s home. By making individual doses available—not even a daily dose, but a single, one-time dose—more families were able to afford treatment for their ailments. In a community where money is very scarce, this family was filling a very real, pressing need that wasn't being addressed by local stores.
Human-centered design requires us to observe human behavior with beginner's eyes, so that we can spot the innate ways people interact with the world around them. We call these intuitive and unconscious reactions Thoughtless Acts, and IDEO designers collect photos of them to inspire their work.
A Day in the Life of an Environments Designer
Ever wondered what an environments designer does all day?
6:20 AM: Snooze
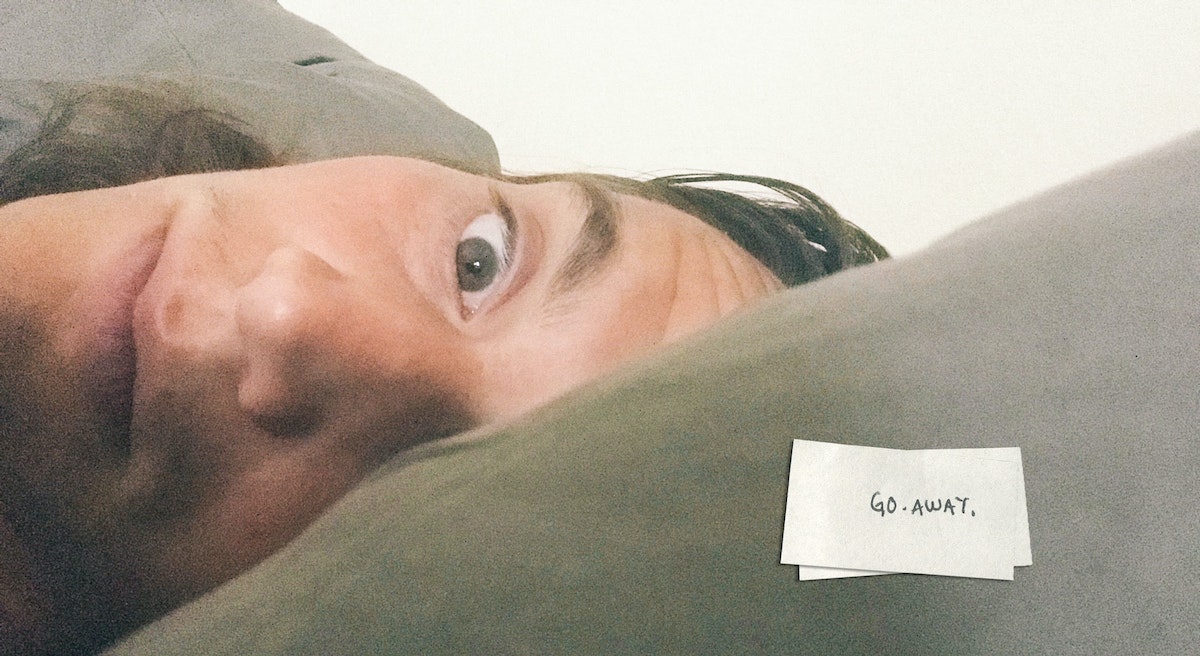
6:30 AM: Sweep
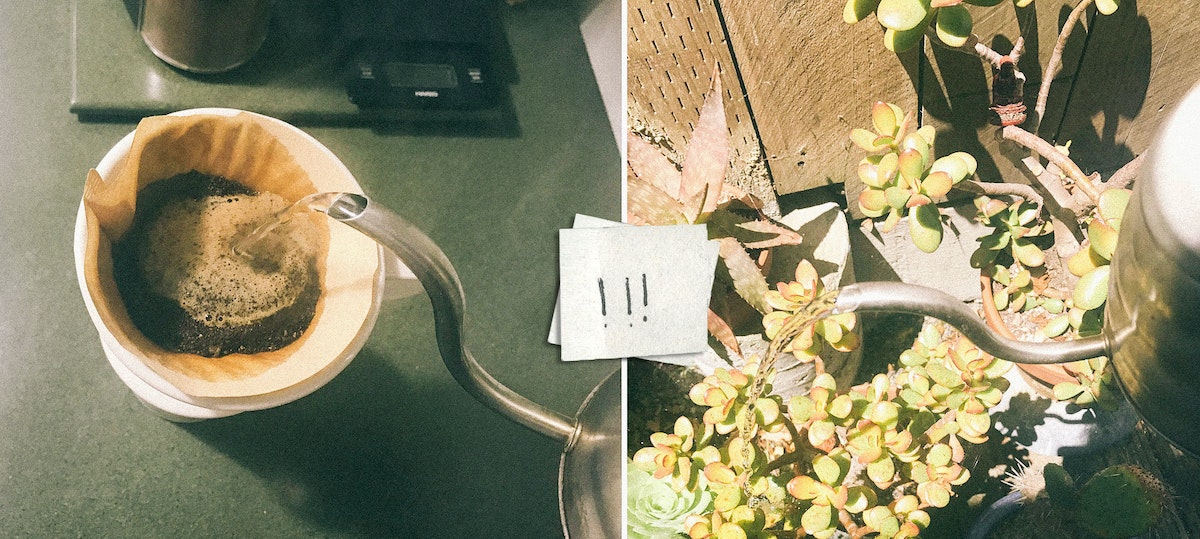
Sweep. Make the coffee, water the succulents, check out a few new product curation apps and services the team has been talking about. While riding the bus across the Bay, I read about immigration patterns and how they affect consumers in North America. Staying inspired is part of our job, so I try to start each day with a healthy dose.
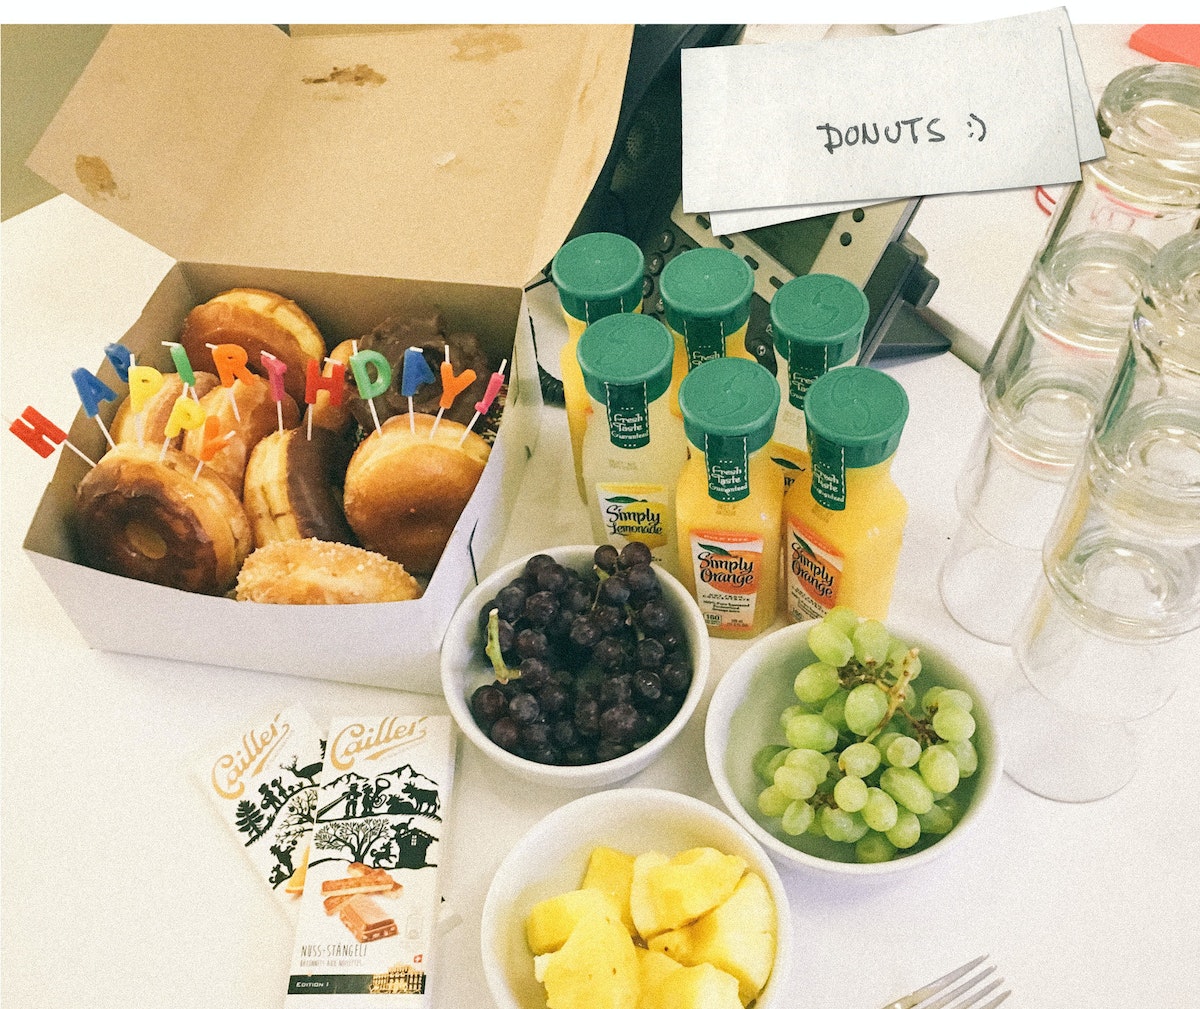
9:00 AM: Birthday shenanigans
Today is my teammate Julian’s birthday, so we surprised him with donuts and orange juice—his morning elixir of choice!
9:30 AM: Sketching and 3D modeling
My team’s current project is to reimagine the shopping experience for a large retailer. To prepare for a review with the team, I do some sketching and 3D modeling of in-store display concepts. We are a diverse and interdisciplinary bunch, so it helps to bring everyone’s ideas together through visualization.

10:30 AM: Design review with the team
We do team check-ins throughout the day, talking through our ideas to make sure we’re meeting user needs and pushing the integration of digital behaviors and physical environments. Today, we’re critiquing a bunch of sketches of critical shopping moments that we’ll prototype later. We’re considering how digital projection can add ambient information and subtle interaction to a physical display layout.
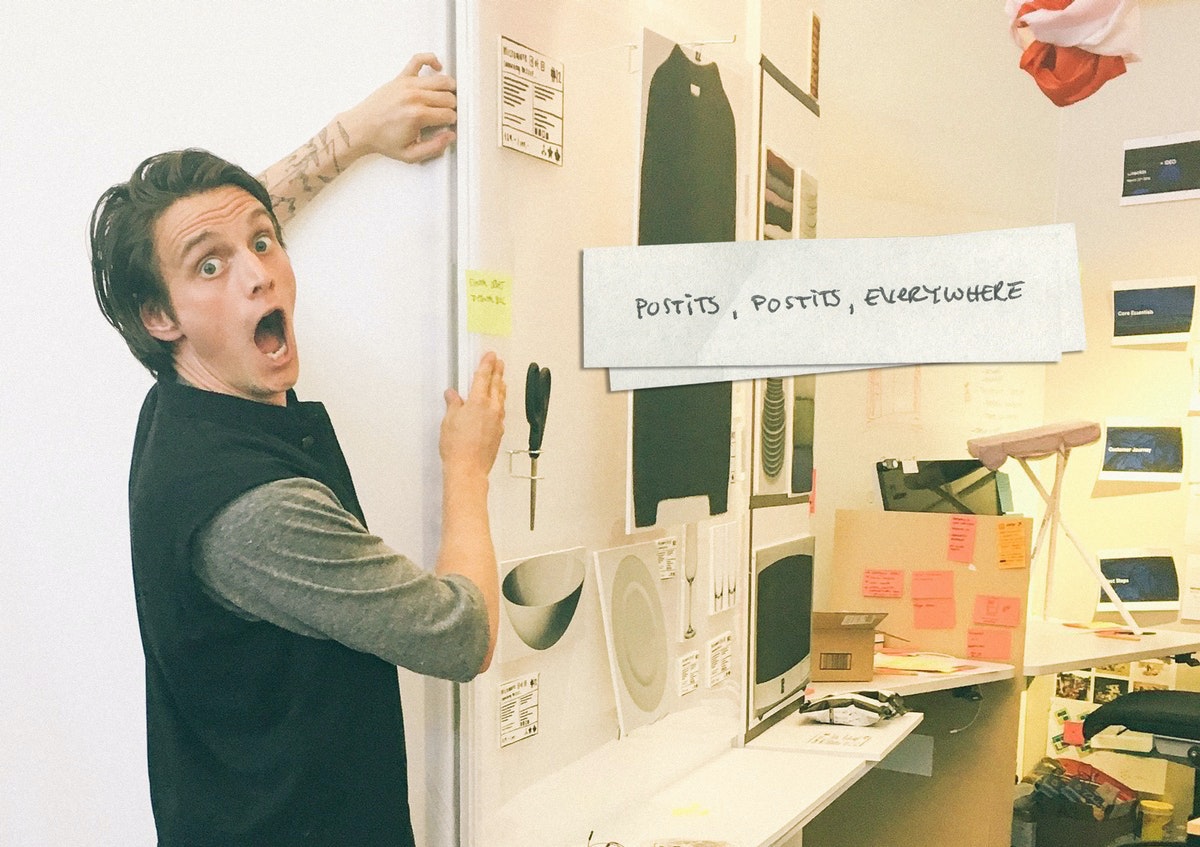
11:30 AM: Creating a physical study model
In preparation for our prototyping session in the IDEO Shop, we use a rough physical model to map out the experience of the future retail environment. A small-scale model lets us discuss all the ways shoppers might interact with a brick and mortar store—from browsing to comparison shopping, saving for later or checking out and having things shipped home. It’s helpful to keep our work quick and dirty, so that we have a model that lets the entire team walk through design points together.
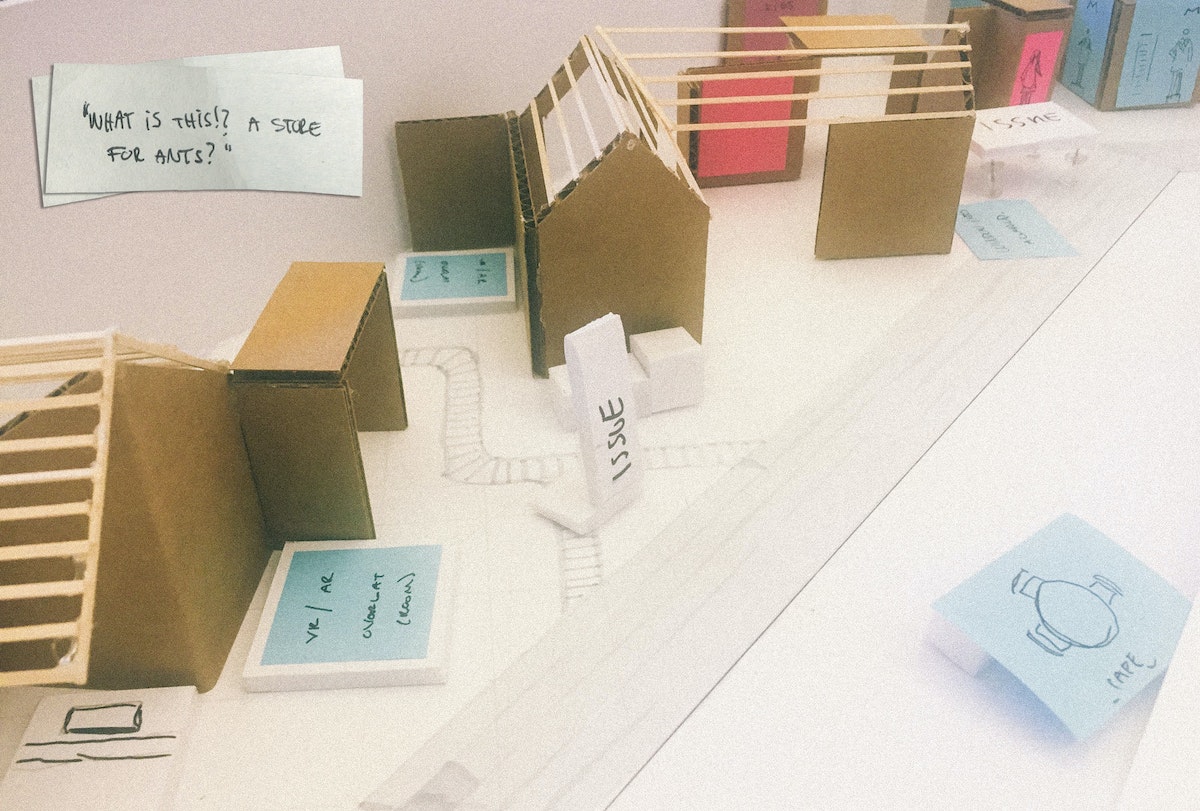
12:00 PM: Julian’s birthday lunch
Continuing the festivities, we pop out of the office to get a bite of Scandinavian-inspired eats.
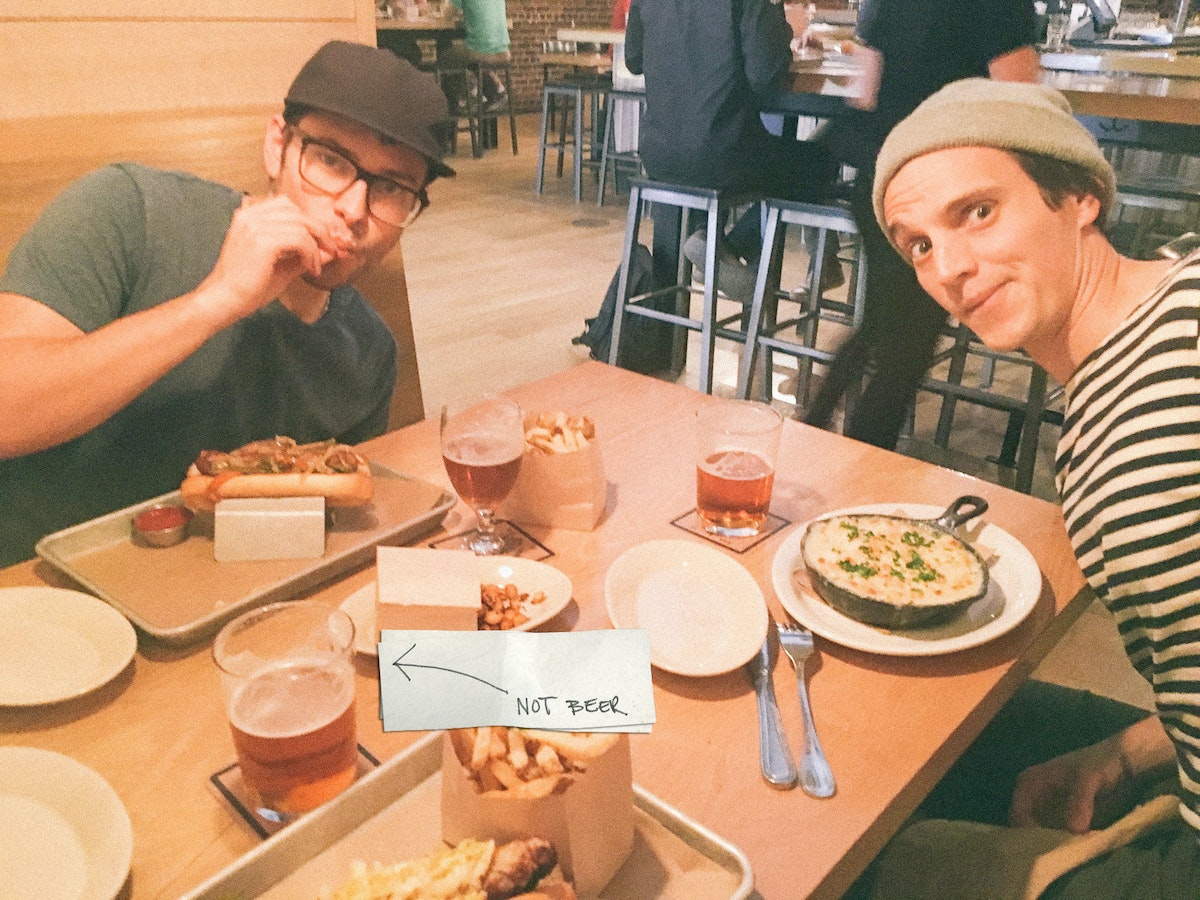
1:30 PM: Field testing and 1:1 prototyping
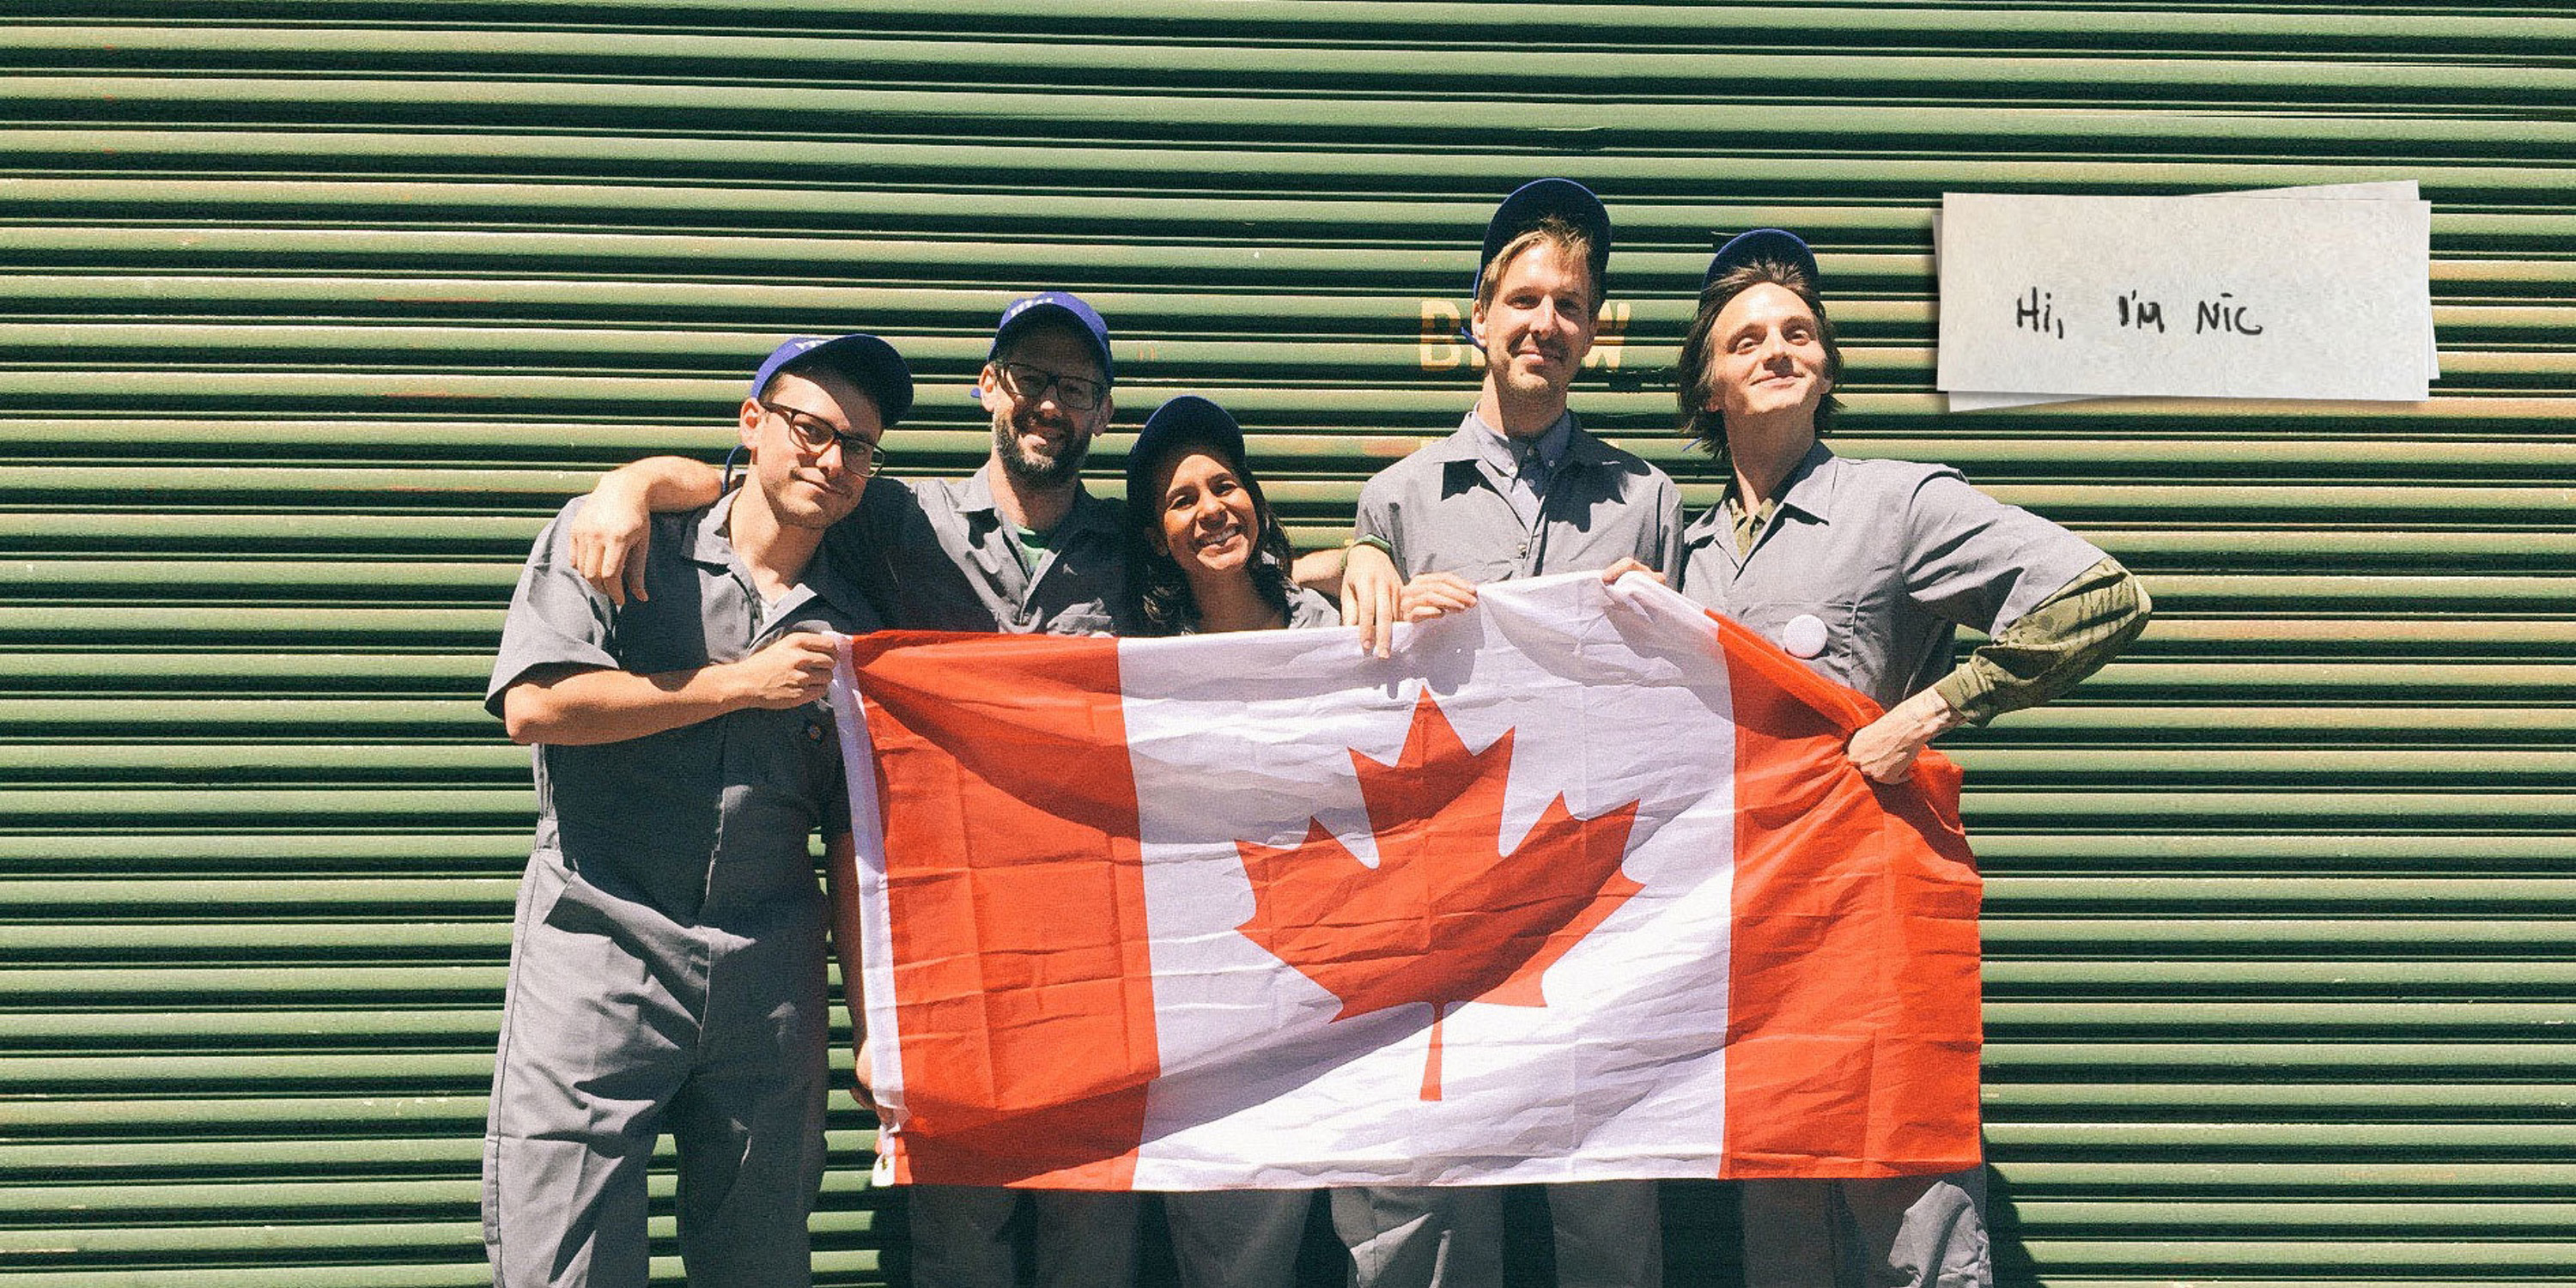
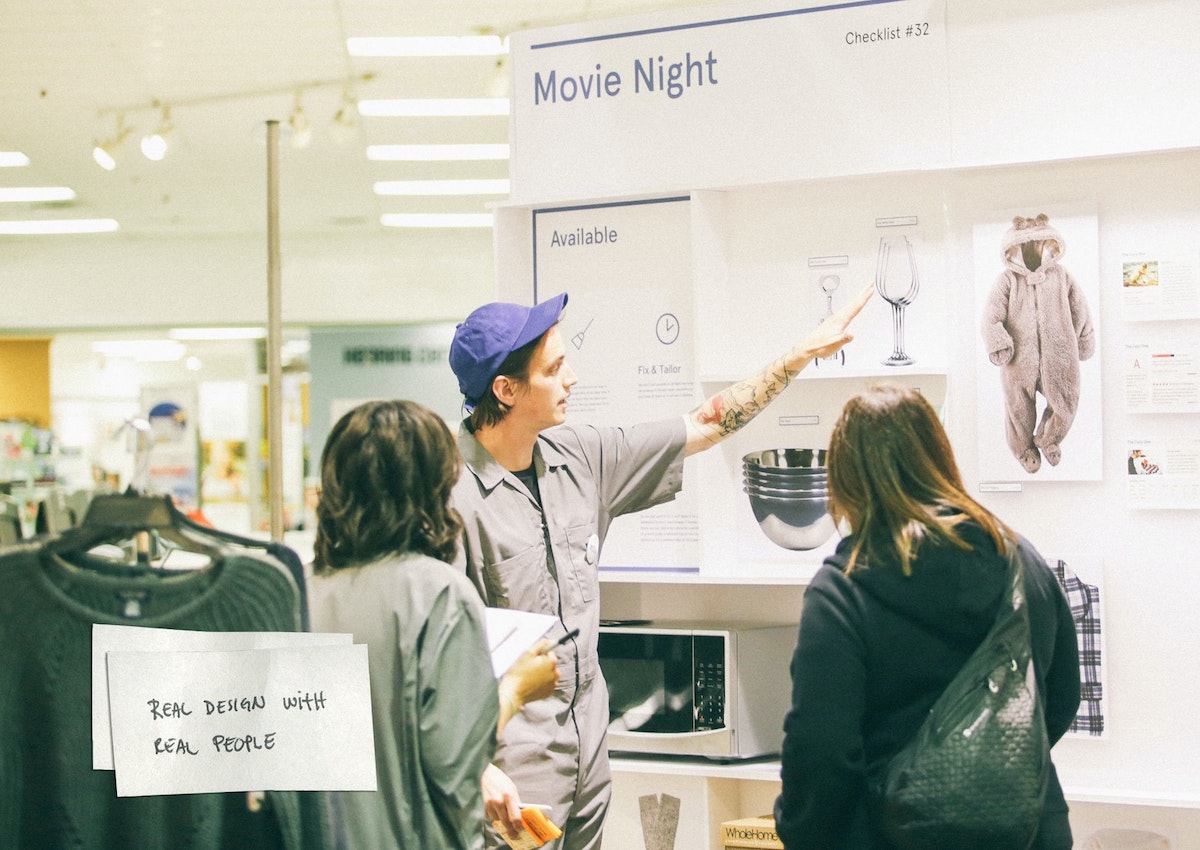
Time to refine the rough mock-up made in the office and rebuild it in a live retail environment. We wear jumpsuits to suggest how we want the client’s brand to evolve (and because jumpsuits are cool).
The prototype begins outside the store with a simulated mobile shopping experience that ushers shoppers directly to our redesigned displays. The point of the prototype is to test a store layout that could feel like an extension of a mobile shopping experience. Think curated themes, minimal options, and intuitive product comparison interactions. Turns out, some things they hate, some things they love, and a few things don’t make sense to them at all! All of that is great feedback for moving forward, by the rock-and-roll rules of prototyping. Achieving a realistic level of physical interaction while keeping the design at a prototypical level is key to getting honest feedback. We draw our insights from watching how users interact with the space, as well as their answers to directed prompts.
7:30 PM: Teach
My nightcap is heading to California College of the Arts, where I teach a class about physical space and digital interaction titled “Objects & Space.” We work with sensors, hack projectors, control motors, glue, and foamcore, and build our way through code, all in the spirit of figuring out what the environments designers of tomorrow might do.

When people ask me what I do for a living, I say, “I use space to explore design solutions.” It might sound like I work for NASA, but what we environments designers actually do is consider how physical space influences human behavior. Much of my time is spent sketching, making models, building walls out of foamcore, miming, turning off the lights, rendering, and doing my best to break feng shui. Here's a breakdown of a typical day:

Lindsey Turner
I’m passionate about building brands, products, and experiences that help organizations show up with meaning and momentum.
I help organizations cut through complexity by shaping how they show up, through brand strategy, identity, and storytelling.
Working at the intersection of brand and business, I bring an editorial eye and a bias toward making—turning ideas into tangible experiences that people can understand, trust, and believe in.
My work spans government, healthcare, financial services, media, and consumer goods, from launching Gen Z-focused ventures to building innovation labs and reimagining legacy brands. I relish moments of ambiguity and enjoy translating across teams, perspectives, and priorities to move ideas forward.
I started my career in editorial and digital design, shaping cross-platform experiences and identity systems in publishing and agency environments. That foundation still shapes how I work today: I’m detail-oriented, collaborative, and overreliant on the Oxford comma. I hold a BFA in Visual Communication from the School of the Art Institute of Chicago.

Rachel Young
My work helps organizations see who their products aren't working for—and build the will and the tools to do something about it
For 25 years, I've asked the same question: Who does this design exclude—and what are we going to do about it?
My work spans human-centered strategy, inclusive design, and qualitative research, with clients ranging from Microsoft, Google, and Verizon to the National Science Foundation, and San Francisco Unified School District.
Before IDEO, I taught elementary school in East Palo Alto and spent a decade doing design work with social service organizations—where I learned firsthand what it costs people when systems are built without them in mind.
I am currently writing User Error, a nonfiction book about digital access and the design decisions behind it. I live in Oakland, California.

Brian Pelsoh
I lead with craft, ensuring our work is creatively excellent: rooted in deep human insight and imagination, while also grounded in the realities of business and technology.
My expertise spans brand, communication, and product design across tech, education, the arts, and social impact.
I believe great work demands both high-level vision and obsessive attention to detail, and only happens through collaboration.
I bring an inclusive, hands-on approach and a deep understanding of business, which enables me to consistently deliver excellence while always asking why.
Before joining IDEO, I worked at the brand firms Pentagram and VSA Partners. I began my career as a designer, leading teams at the School of the Art Institute of Chicago and the Milwaukee Art Museum. I hold an MFA in graphic design from Maryland Institute College of Art and a BFA in communication design from the Milwaukee Institute of Art & Design, and have taught at some of the best design schools in the US.

Tony Wong
I am responsible for IDEO’s long-term success in China and working with clients to use design as a tool to enable growth.
I am responsible for IDEO’s long-term success in China and working with clients to use design as a tool to enable growth. Specifically, I have helped Chinese companies design holistic brand solutions through the development of their products, communication, services, and innovation teams, and I have helped multinationals expand their presence and influence in China.
I advise global leaders on developing China-led innovation and capabilities.
In over 15 years in IDEO Shanghai, I have worked on projects that use design to elevate the quality of the experience of healthcare products and services, streamline processes that increase productivity, create spaces and programs that promote and enable inclusive communities, and build next generation mobility solutions that are planet-positive.
Before joining IDEO, I worked at Philips Electronics and the Electrolux Group in Italy, the Netherlands, and Singapore on a number of breakthrough commercial products. I am a member of the Young President Organization in Shanghai.

Building a personal AI for the messiness of life: Sida Li
Most AI products today are built for work—a space with clear problems and established systems. One founder noticed a gap: personal life is messier, harder to systematize, and mostly left behind by the AI boom. So she built Cue, a personal AI that lives inside iMessage and group chats, to go where the other tools haven't.
In this episode, Becca Carroll, IDEO's Chief Strategy Officer, talks with Sida Li, co-founder and CEO of Shared Context Lab, about staying anchored to a human need while the technology around her keeps changing shape, why she treats her business model with the same rigor she'd bring to a product, and what it feels like to build a company at this particular, disorienting moment in AI.
The conversation also gets into how Sida makes design decisions: the language Cue uses to describe itself, the tradeoffs behind building inside iMessage instead of a new app, and a real story about a business idea that didn’t pan out.
This is the second in a two-part series profiling founders from IDEO's Startups-in-Residence program. The first conversation is with Johannes Seemann, founder of Sooner, on designing GenAI for the emotional side of money.

Designing GenAI for the emotional side of money: Johannes Seemann
Most personal financial tools are built to run the numbers and optimize towards a budget. While that works for some, most people experience money as a lived relationship that does not neatly fit into a spreadsheet. Johannes Seemann and Becca Carroll discuss why money is emotional before it is mathematical, and what a human-centered approach to building a generative AI financial product looks like in practice.

The curious leader's edge in uncertainty: Scott Shigeoka
Mina Seetharaman talks with Scott Shigeoka, author of Seek and Head of Curiosity Cultivation at the Eames Institute, about what distinguishes genuinely curious leadership from performative curiosity, how power dynamics shape curiosity, and why practicing curiosity can restore energy rather than drain it.

How constraints make us more creative: David Epstein
Mina Seetharaman talks with David Epstein, author of Inside the Box and Range, about why total freedom often produces average work, how leaders can design useful limits on purpose, and what organizations such as General Magic and Pixar reveal about the relationship between boundaries and creativity.
Looks like you might be in search of something very specific?
Or reset the filters above and try another angle.
Here’s some random inspiration
Podcasts about creative leadership
Articles about the power of prototyping