
.svg)


How to Make a Fauxtobooth
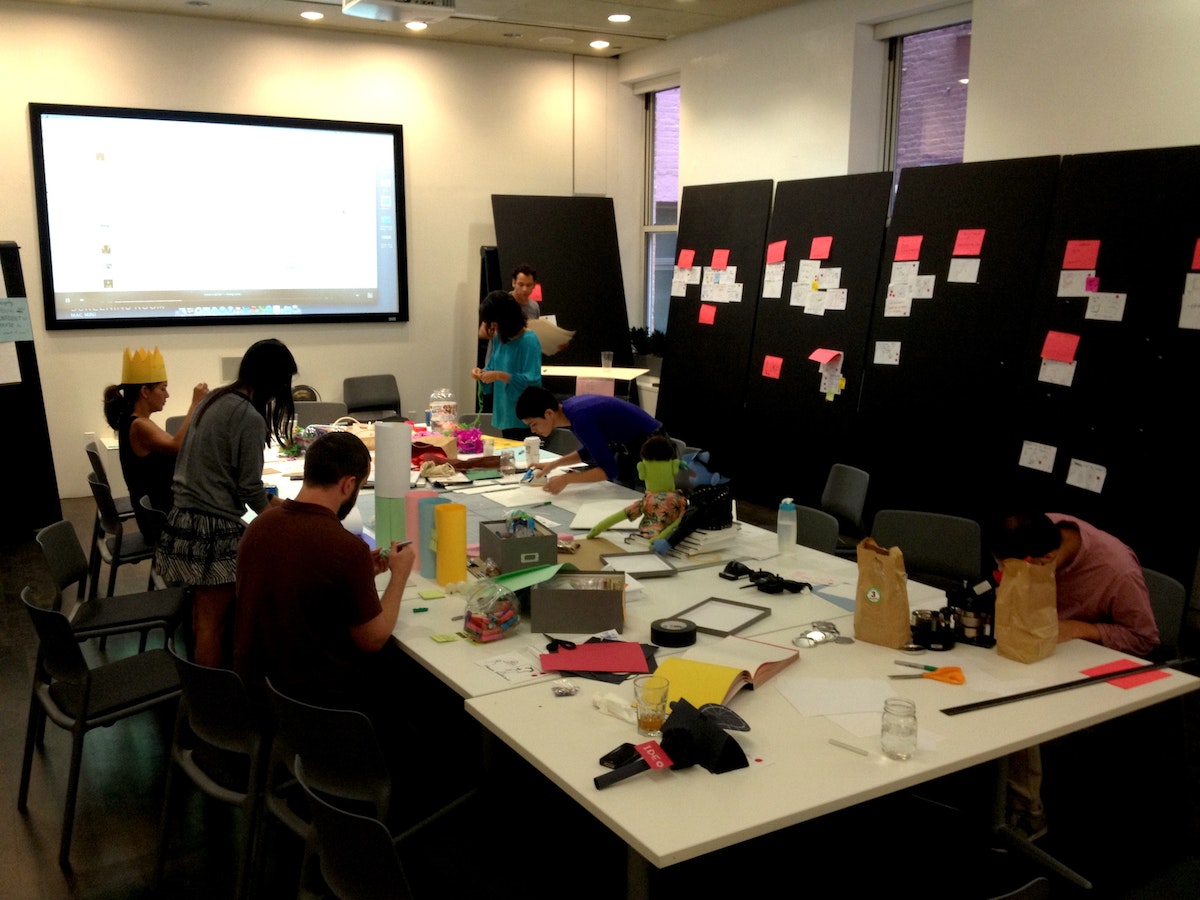
There was a lot of work to be done. IDEO's New York studio was to host an event to celebrate Tom and David Kelley's new book, Creative Confidence, and whatever we designed had to reflect their ideas. Pressure on, we brainstormed over lunch—tools and sticky notes spread out across the largest room in our office.
Wild ideas emerged: a Hug Deli, where patrons might order Ninja Hugs off the menu; a mystery bar, serving up a drink chosen by the previous guest. The big idea was to get people out of their “thinking minds“ in order to freely create.
And that brought us to Fauxtobooth.
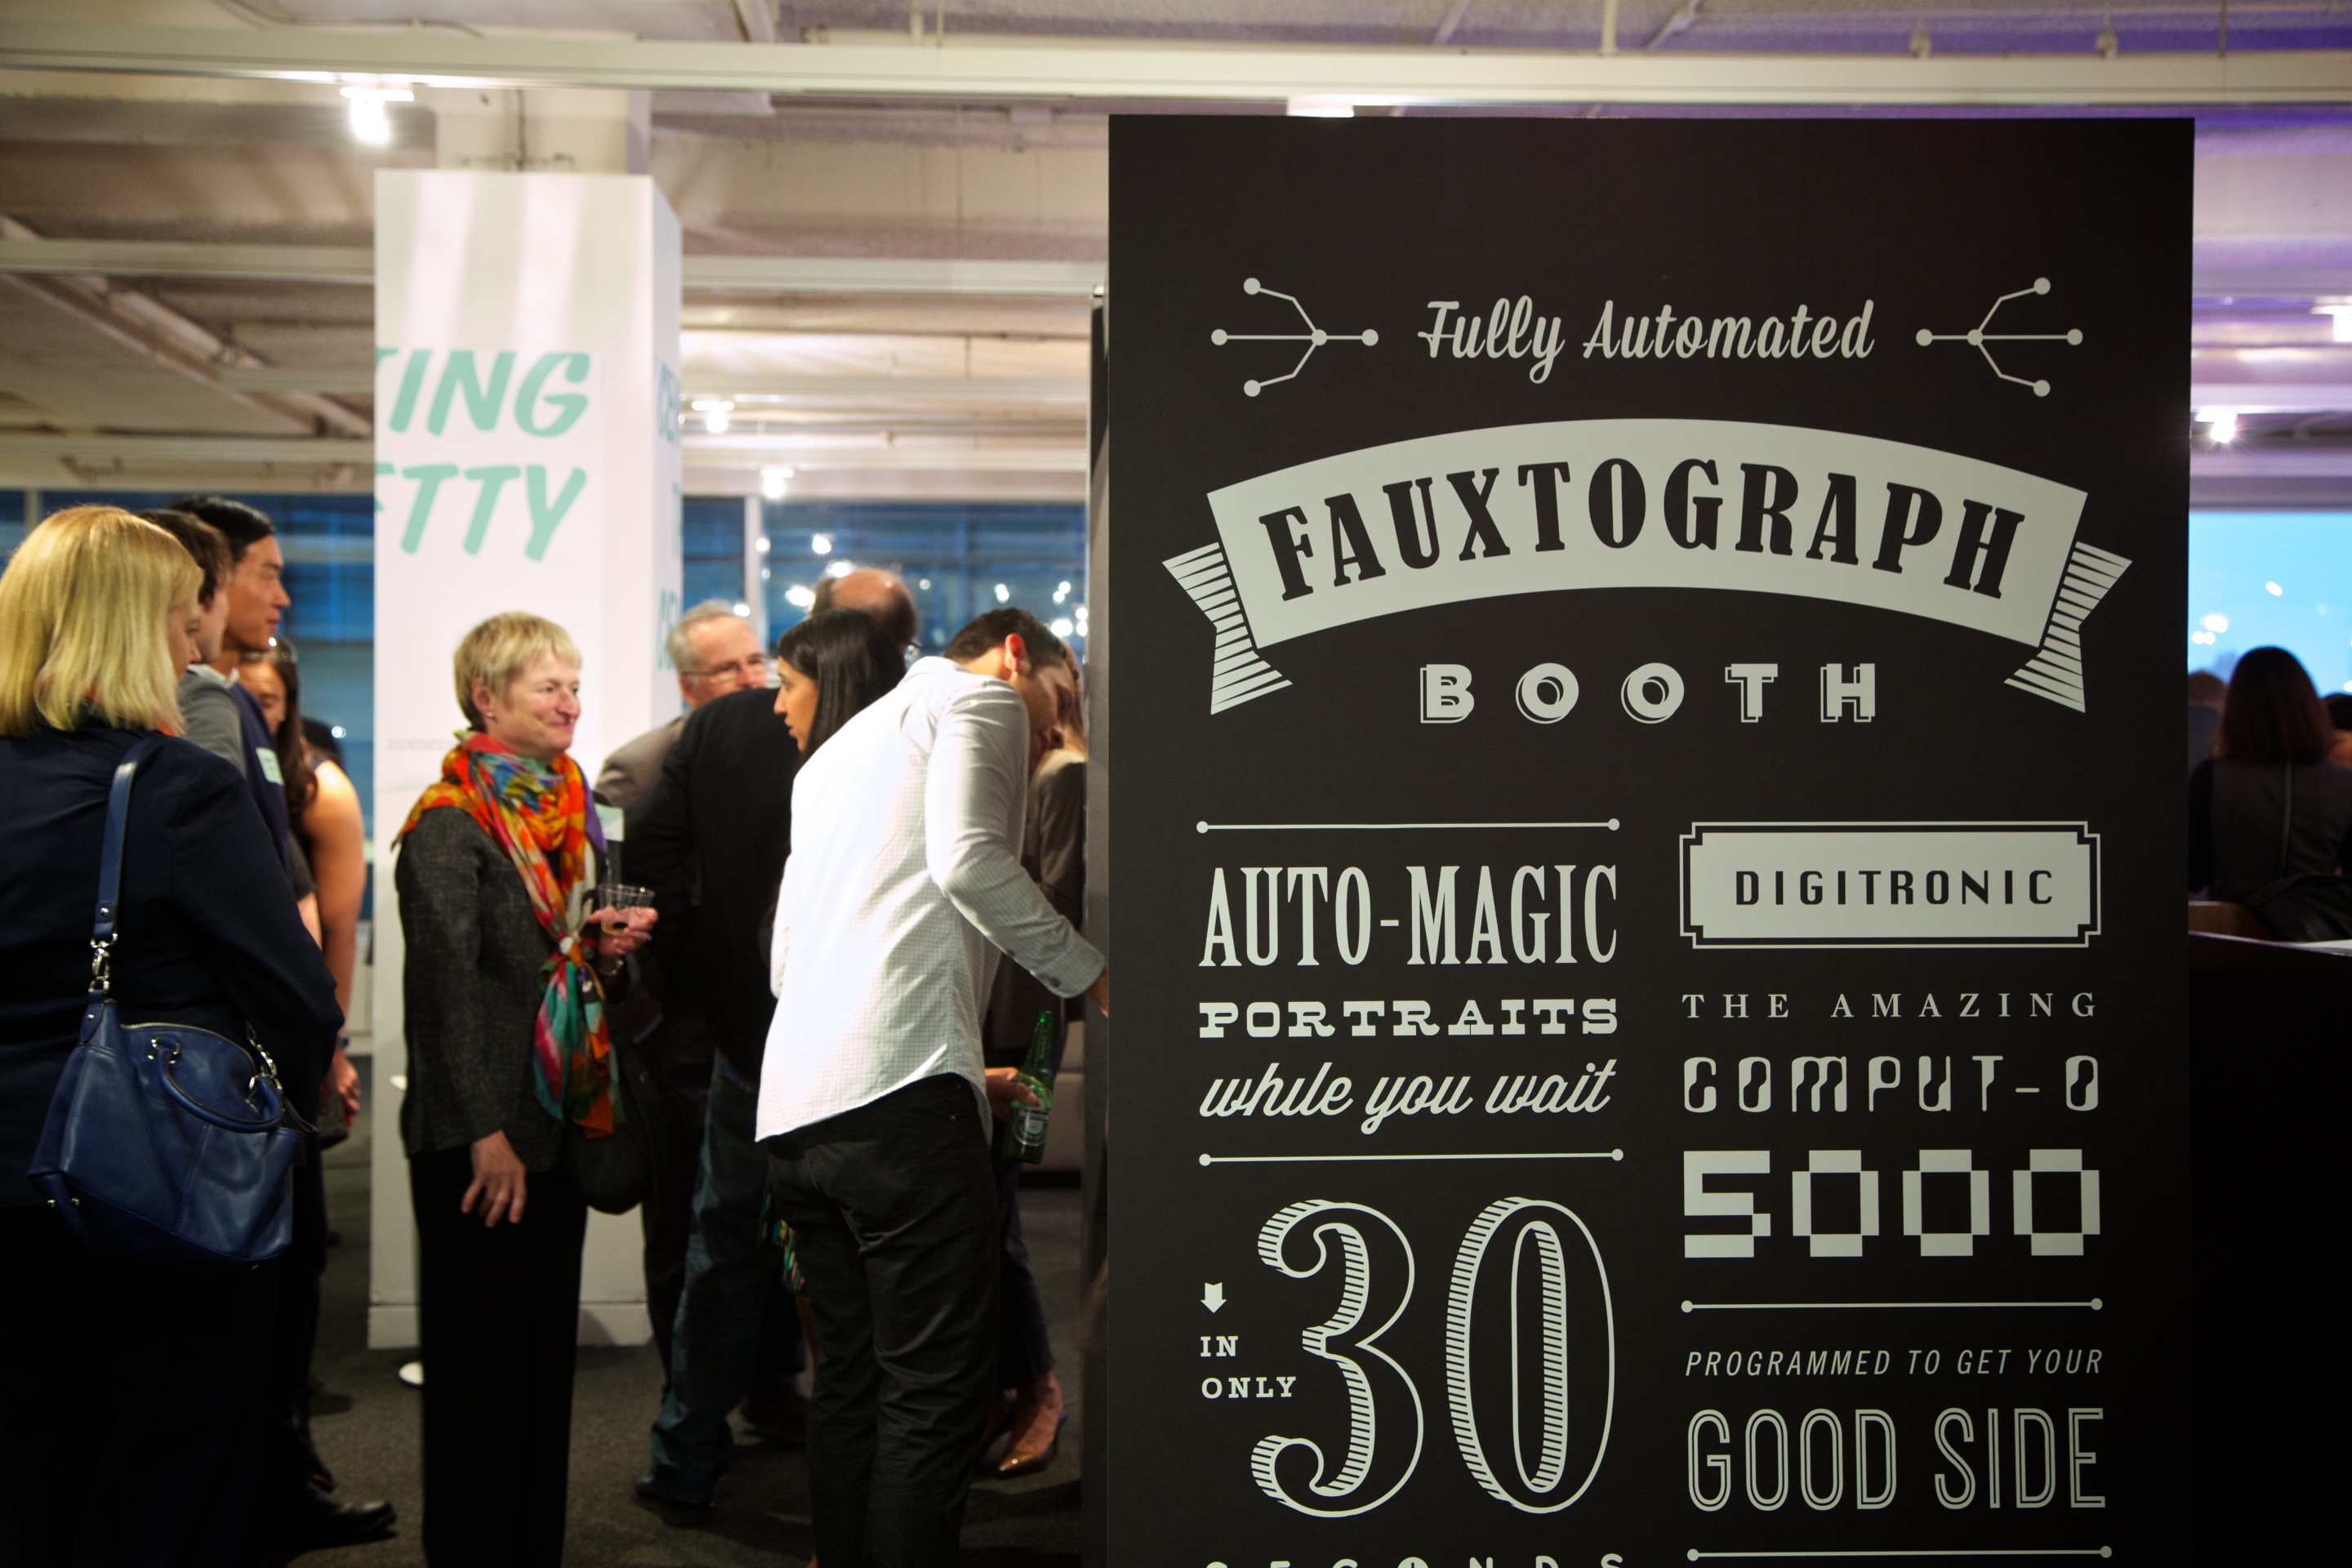
A riff on the classic photobooth we all know and love, this version is completely handmade and doubles as a creative confidence booster—forcing people to draw on a deadline.
How it works
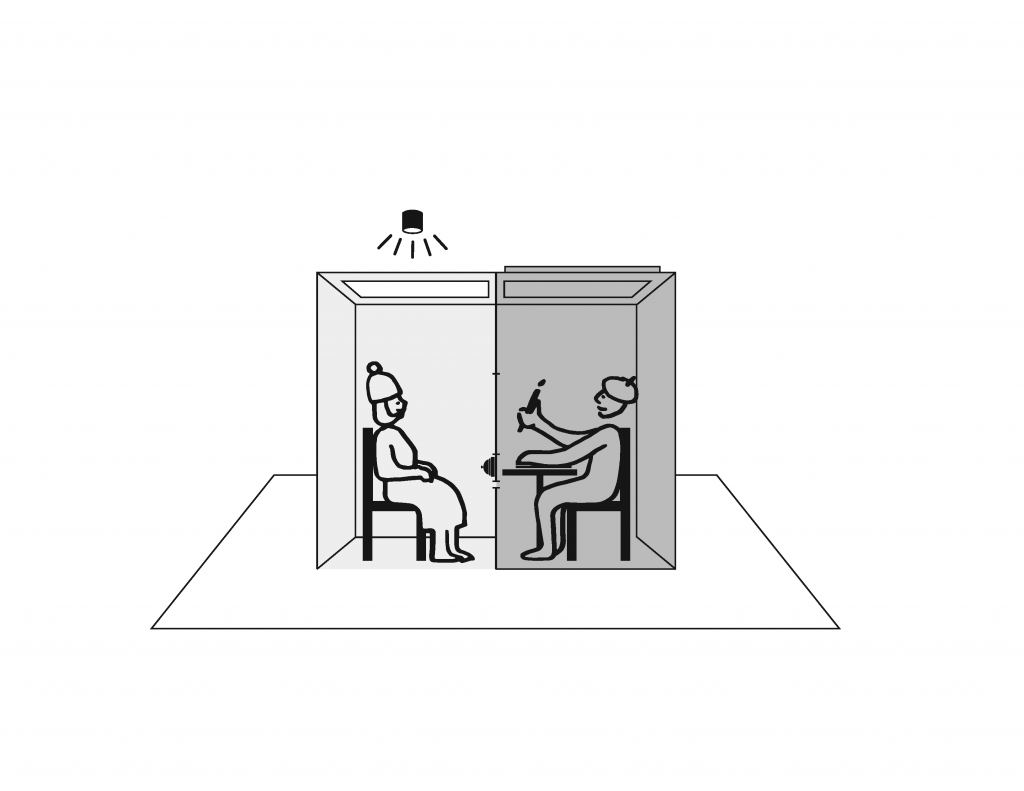
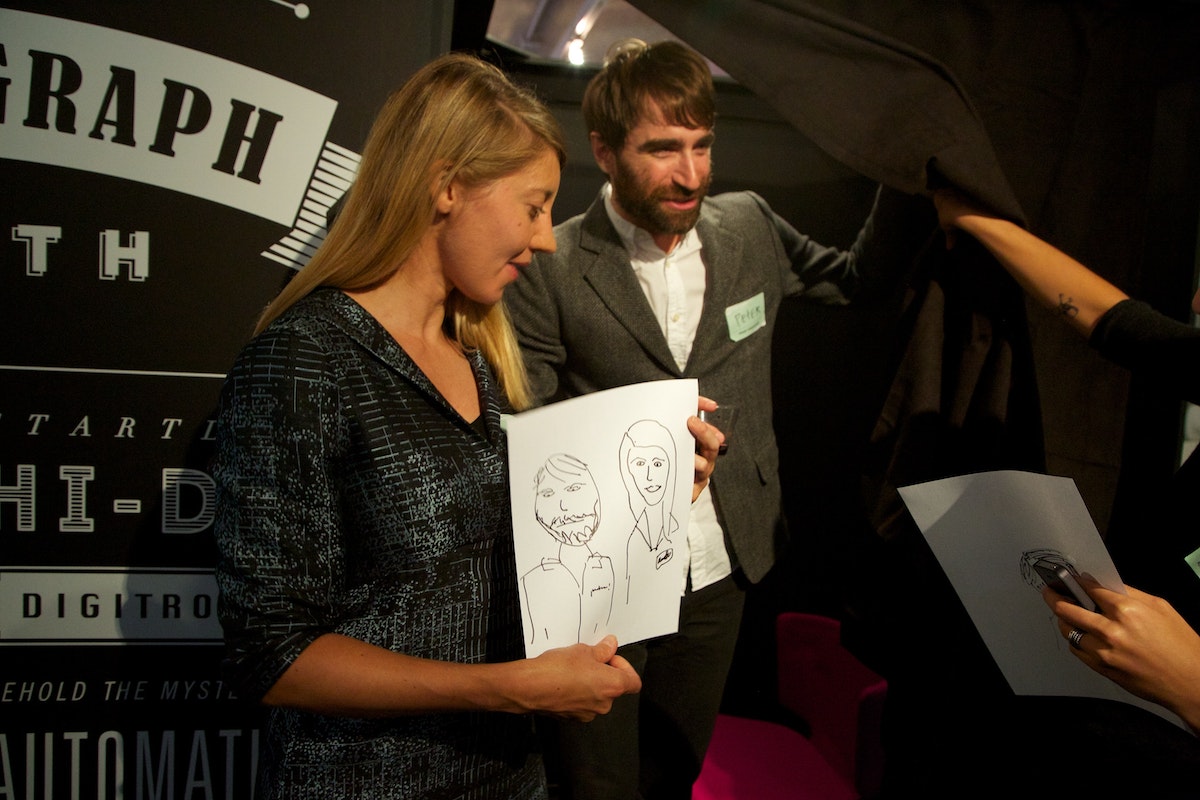
The subject takes a seat inside the booth, facing a mirror. Thirty seconds after pressing a button, the subject receives a slip of paper through a slot below the mirror with—whoa!—a hand-drawn sketch of his or her face on it.
Um, how exactly did that work?
When the host brings the subject around to the back of the booth, the inner workings of the machine are revealed: table, chair, paper, Sharpies. The subject was actually posing in front of a two-way mirror and now it's his or her turn to take on the role of fauxtographer—of capturing the next unsuspecting subject.
How it's made
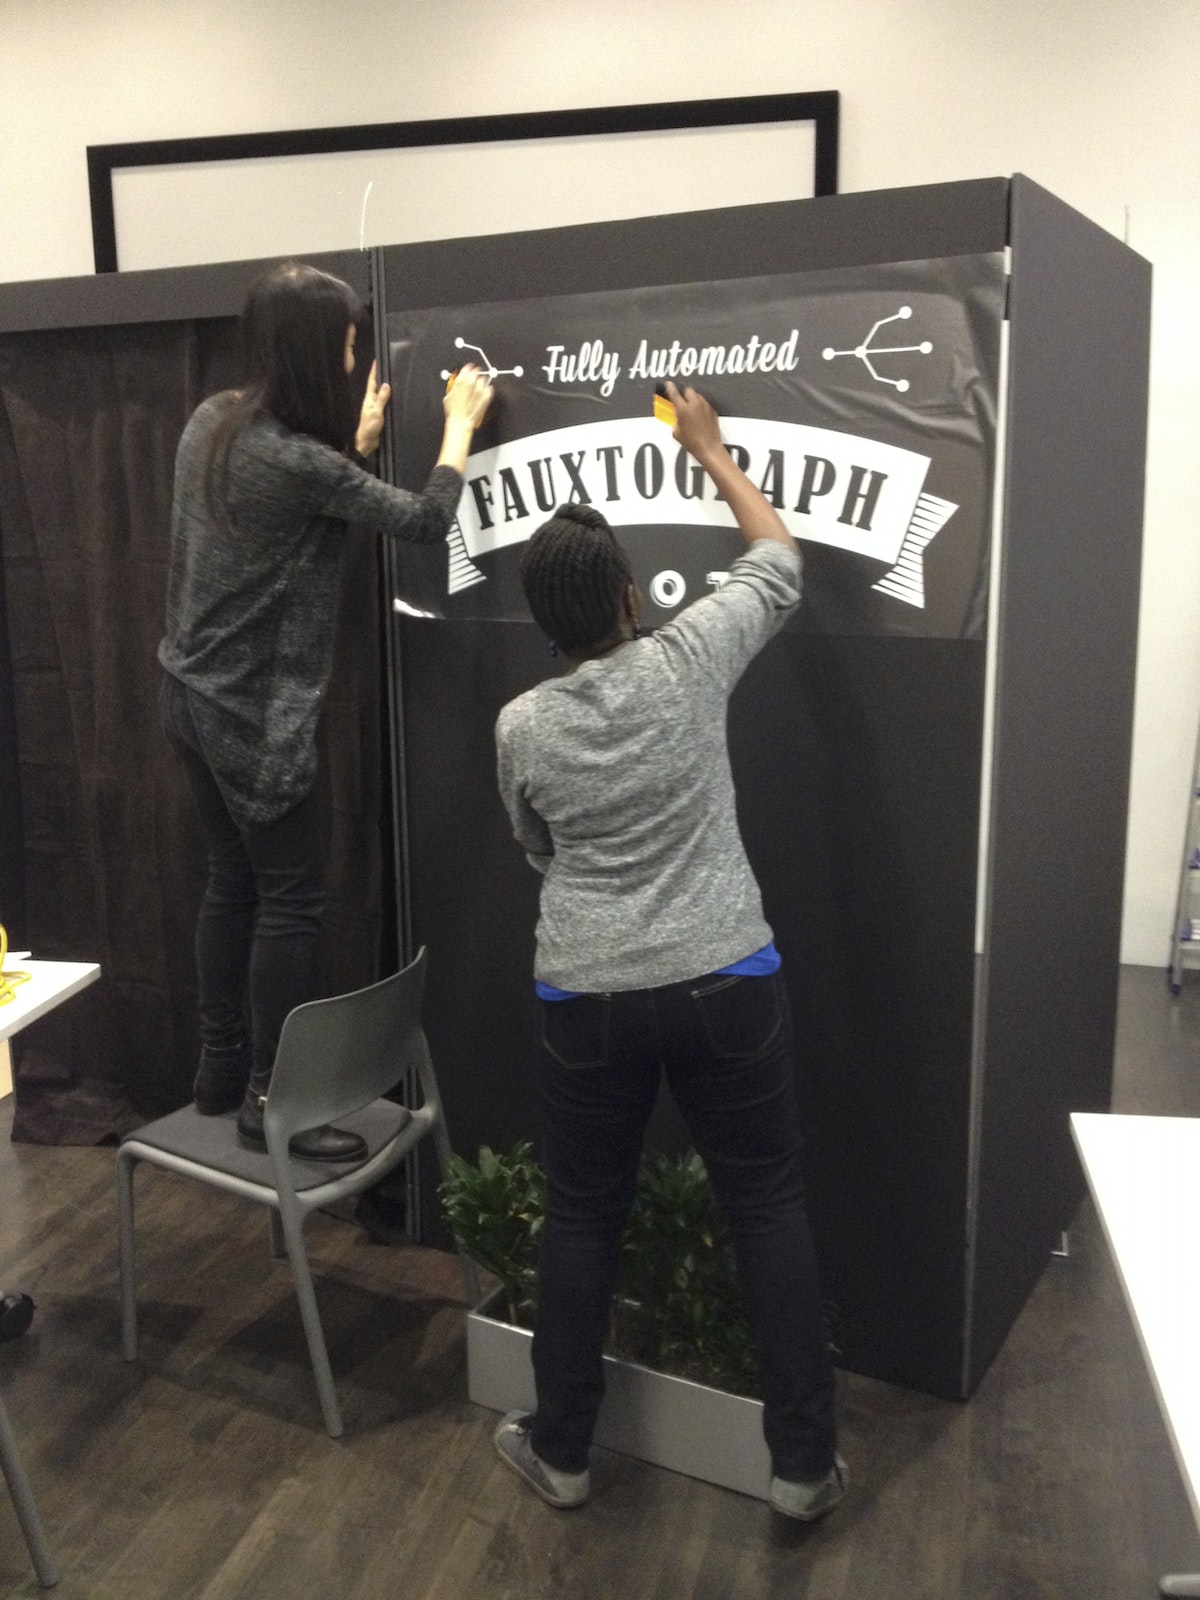
To make a full-scale prototype, you’ll need some foam core and tape. A crude model will help you get a sense of the dimensions and how long it would take to build. The massive black exterior offers an opportunity to advertise your offer. We used vinyl decals for our slogan: “Automatic portraits while you wait!“
Enlist friends: Building a Fauxtobooth takes a village (who likes to cut foam core alone anyway?).
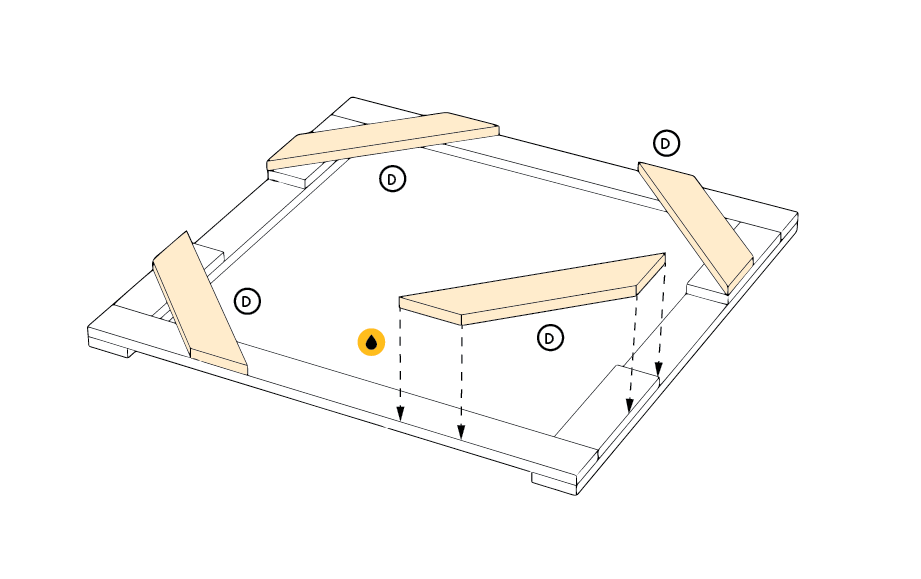
Glue together pieces of foam core to provide structural integrity, and attach the parts using industrial strength velcro, making it possible to easily deconstruct and transport the booth.
Finishing touches
A few key elements bring the Fauxtobooth to life: a two-way mirror, a giant red “Start” button, and graphic flourishes:
- Two-way mirror: The artist can see the subject, but not the other way around. Position the Fauxtobooth under direct light on the subject’s side (you can also use a spotlight), and make sure the curtain is closed on the other side to completely conceal the artist.
- “Start” button: Program an Arduino to keep time (we used an interval of 30 seconds). When pressed, the button lights up for 20 seconds; for the last 10 seconds it blinks and counts down. This serves a dual purpose: the subject knows to hold still for their portrait and the artist knows how much time they have to complete the portrait.
- Graphics: IDEO designer extraordinaire Njoki Gitahi loves bold, vintage signs, and playful, typographic compositions. She took inspiration from Lou Dorfsman’s “Gastrotypographicalassemblage.“ The team vinyl cut and applied the graphics—a tricky process, but well worth it in the end. The white lettering creates a dramatic display against the black backdrop.
What we learned
Once we narrowed in on the Fauxtobooth concept, we realized that (1) you can capture the gestalt of a person in a very short time, (2) people have fun with it, and (3) the collection of images make for an awesome display wall. Here are a few other things we discovered along the way:
- Get back to basics. Building with common materials like foam core, tape, and Velcro reconnects you to basic skills and tools. And the analog experience charmed the pants off people.
- Velcro is your friend. Not only is the sticky stuff forgiving if you don’t get the alignment just right on the first try, it also allows you to disassemble and reassemble structures on location. Consider it the new duct tape.
- Fine-tune light and sound. We were able to position the subject’s side of the booth under a light and keep the artist’s side relatively dark. Check your space ahead of time and use a spotlight if necessary. Also, as the party heats up, the sound of the Start button may be drowned out. Turn up the volume!
Your turn
Up for the challenge? We put together a handy manual so you can learn from our mistakes. If you do build a Fauxtobooth, we’d love to hear about it. Send us a few (real) photos!
Download the replication manual and vinyl graphics
Words and art

Subscribe