
.svg)


How to Hack Your Next Circuit Board Project
I’m always on the lookout for shortcuts, especially when I’m on deadline for a project. Recently, another electrical engineer showed me a cool, time-saving trick that’s useful for all kinds of projects that involve a printed circuit board (PCB). I happened to be building up an LED test board for backlighting icons on a steering wheel prototype, a process similar to making a layer cake.
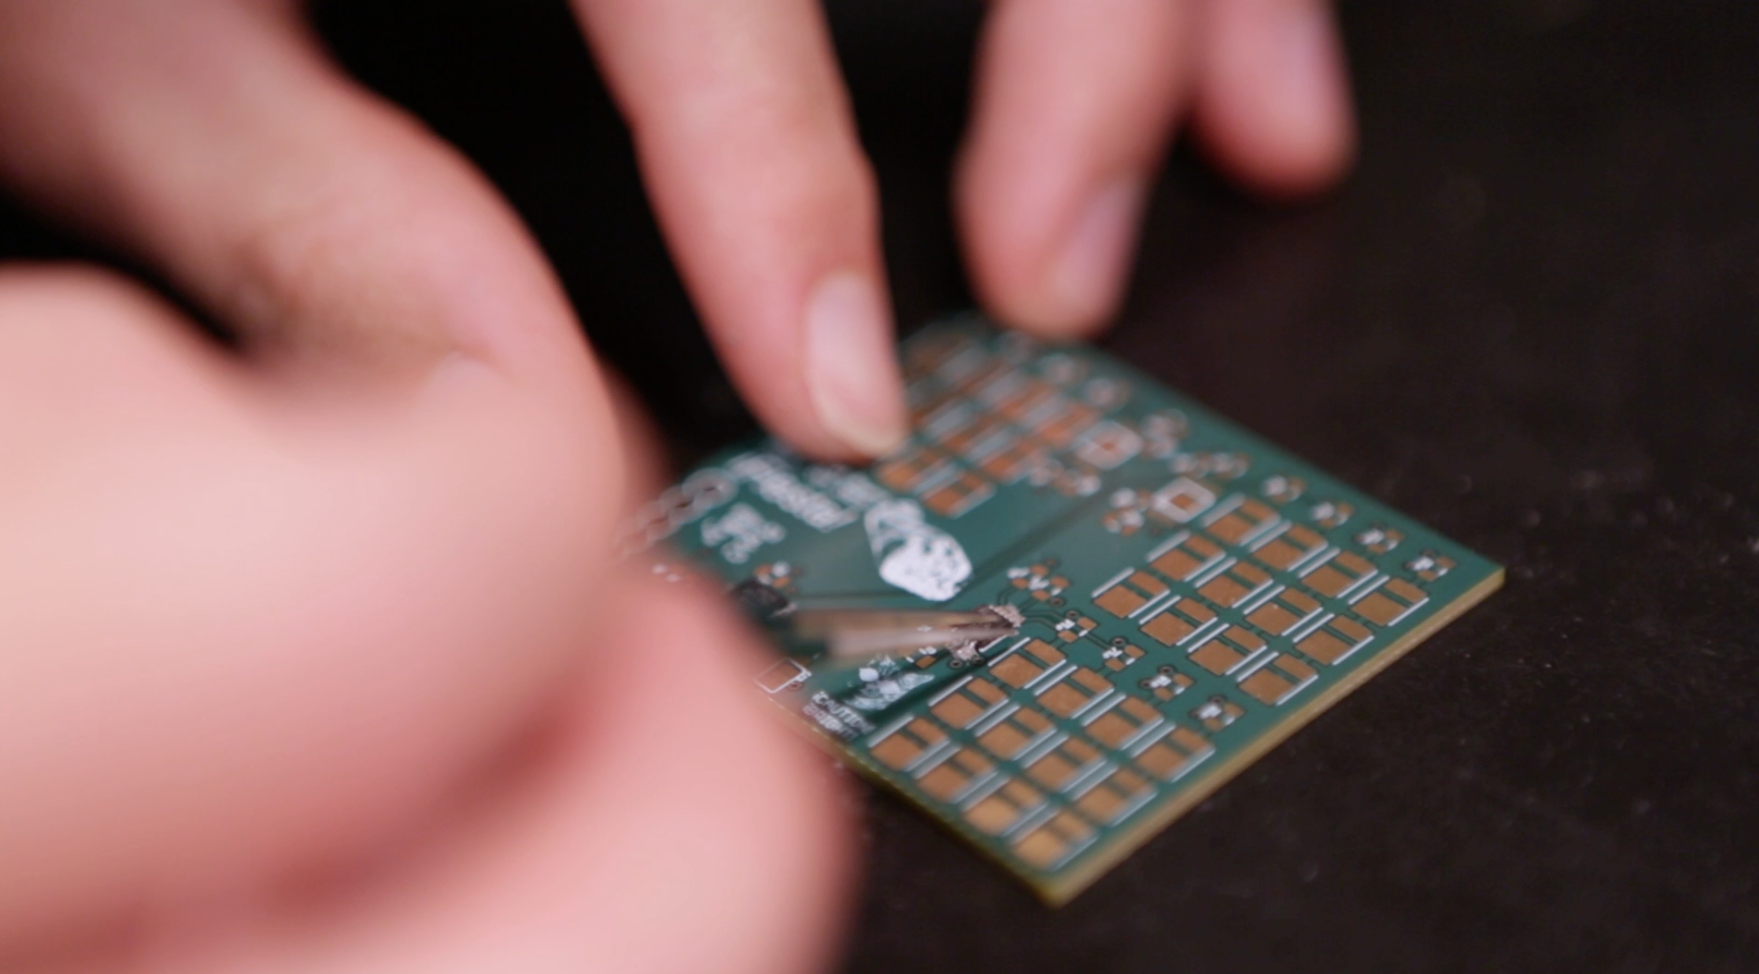
A few of the microchips on my PCB had unexposed connections to the board that I couldn’t solder by hand. I thought I’d have to send it out to be assembled, which could take a couple of days.
The hack
Instead of sending it out, I took a tip from my colleague and simply put some solder paste (small balls of solder in a sea of flux) under the microchips and popped the whole board in a toaster oven at 450° for a couple of minutes.
Safety first
Common sense may tell you that baking electrical components is a bad idea, but if you pay close attention and remove the board immediately after the solder liquefies, it’s a killer quick-and-dirty shortcut. Once the board has cooled, you can attach more sensitive components like LEDs and headers—the icing on the cake, so to speak.
The Easy-Bake Circuit Board Recipe
1. Apply solder paste to the PCB on all pads for parts with unexposed or hard-to-reach connections to the board. (Note: You don't need a whole lot of solder paste. Too much paste can result in bridging pins and will need to be cleaned up later.)
2. Carefully align the parts to be baked on the pads with solder paste.
3. Place the partially populated (or fully populated, if all your parts can be baked) PCB into the oven and set it to 450°.*
4. Watch for the moment when the solder balls liquefy (the solder will go from dull to shiny), about 1-2 minutes. The flux will help the solder hug tightly to any metal.
5. Carefully remove the PCB from the oven a few seconds after the solder liquifies. The extra couple seconds ensures all the solder has had time to liquefy.
6. Turn off the oven.
7. Let the PCB and solder connections cool down.
8. If possible, check solder connections under a microscope.
9. Clean up any bridging and test the connections.
10. Populate the rest of the board with parts you can solder by hand.
IMPORTANT: Always check the part's datasheet for temperature tolerances before putting it into the oven.
Pretty sure Charles Strite, inventor of the modern toaster, didn't see this coming.
Big thanks to Dave Vondle for the hackspiration and Sophie Feng for the awesome video!
Words and art

Subscribe