Designing for DEF CON
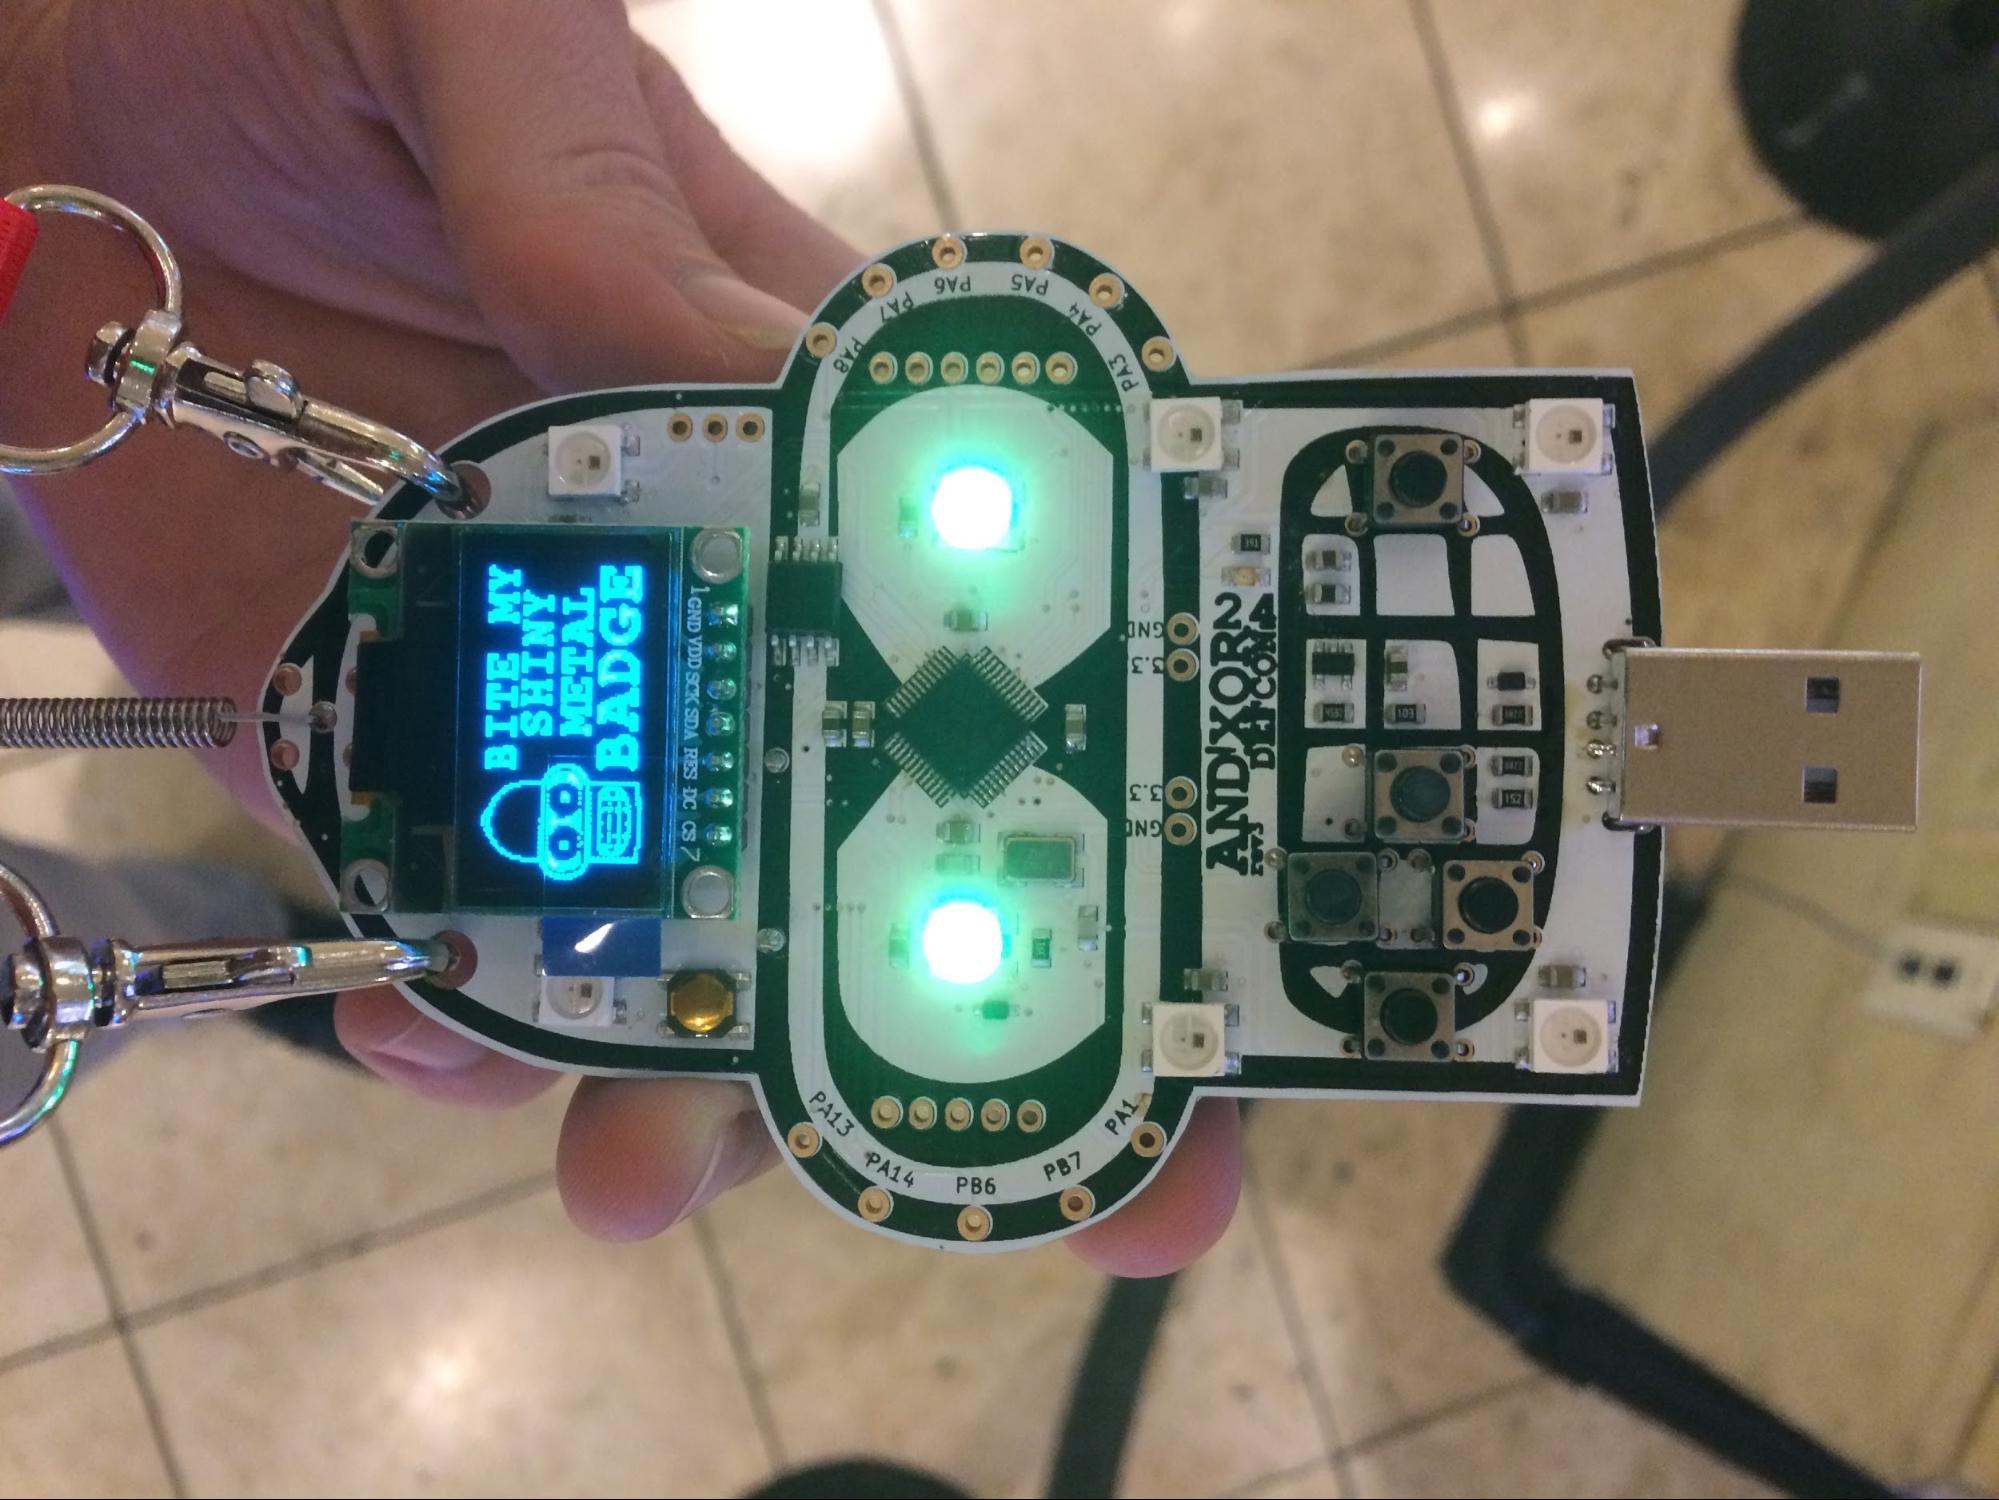
Every year, it's hard for me to contain my excitement as DEF CON approaches, so I try to focus that enthusiasm into various projects. (For the uninitiated, DEF CON is one of the world’s largest hacking conventions. The days are long, the sleeping is limited, and it’s Vegas in the middle of summer.) In the past five-plus years, designing and programming custom badges to share at DEF CON has become increasingly popular.
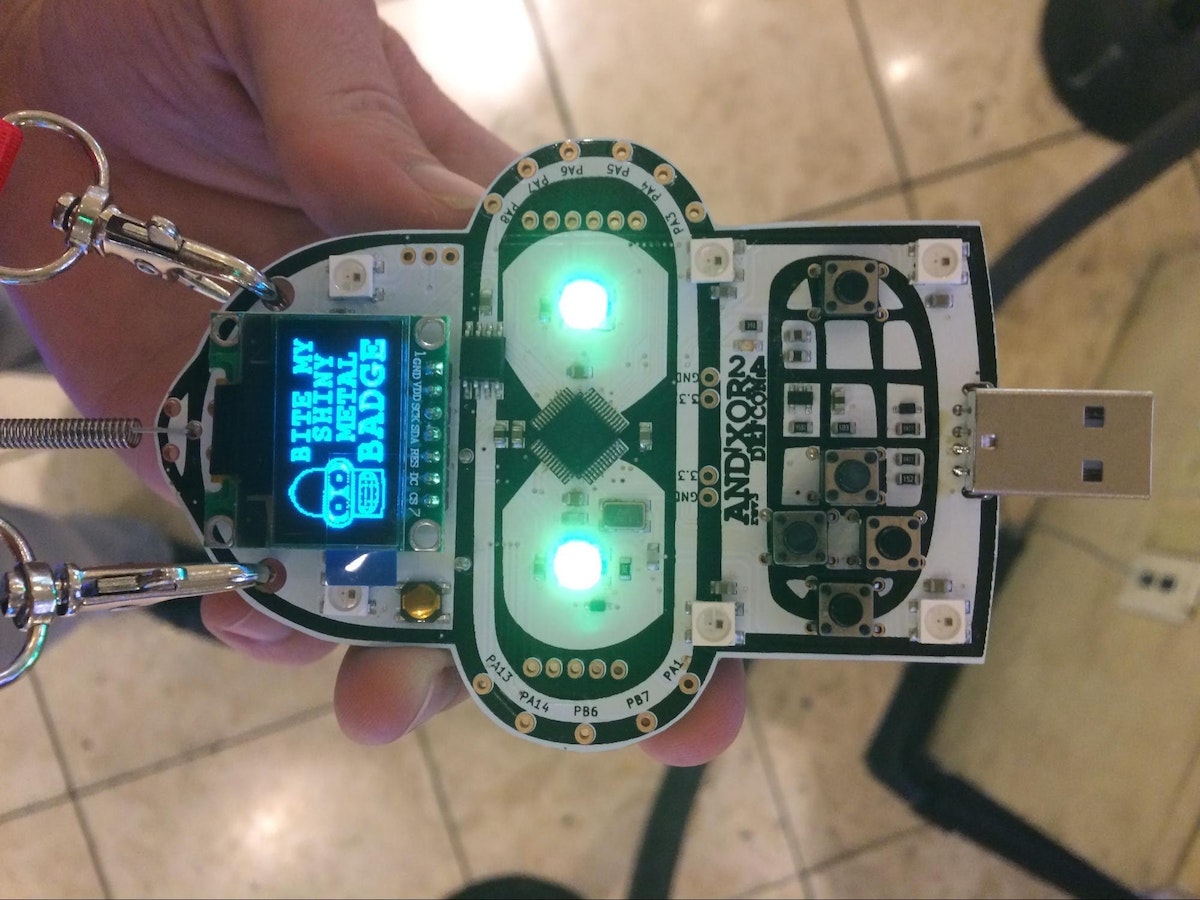
Last year, about a month before the con, I came across a Bender Badge project by AND!XOR—a group of hackers from California—on Hackaday. The Bender Badge is a nod to the robot character from Futurama and it comes packaged with games and flashy lights in the shape of his head. It’s also designed to be hacked (the barrier to entry is low—it can be programmed using the Arduino IDE). It seemed like a good place to focus my excitement.
For years, I have been looking for an opportunity to design something for DEF CON that interacts with sound. Networking and parties are a big part of the con, and often these events feature live DJs and music. I also wanted to create a design that relates to Bender's personality—he's often drinking and smoking, so a cigar seemed appropriate. Optimal choice: a cigar-shaped microphone.
The Bender Badge comes equipped with a standard set of hardware components (buttons, LEDs, and a display). Since the project was still in development, and I didn’t know which parts would be in the final version, I decided to build an add-on. The badge kit features an STM32F103 microcontroller, which includes an analog-to-digital converter (ADC). This allows the microcontroller to receive analog audio data by sampling it at high speeds and converting it into digital values. My goal was to use a microphone to capture the surrounding audio data and then convert that data into frequency components via Fourier analysis—specifically, using the discrete Fourier transform (DFT). The results of the Fourier analysis can be displayed as a bar graph. This is commonly referred to as a spectral analysis, and in this case, it would focus on frequencies between 20 and 20,000 Hz (the range for human hearing).
Proof of Concept
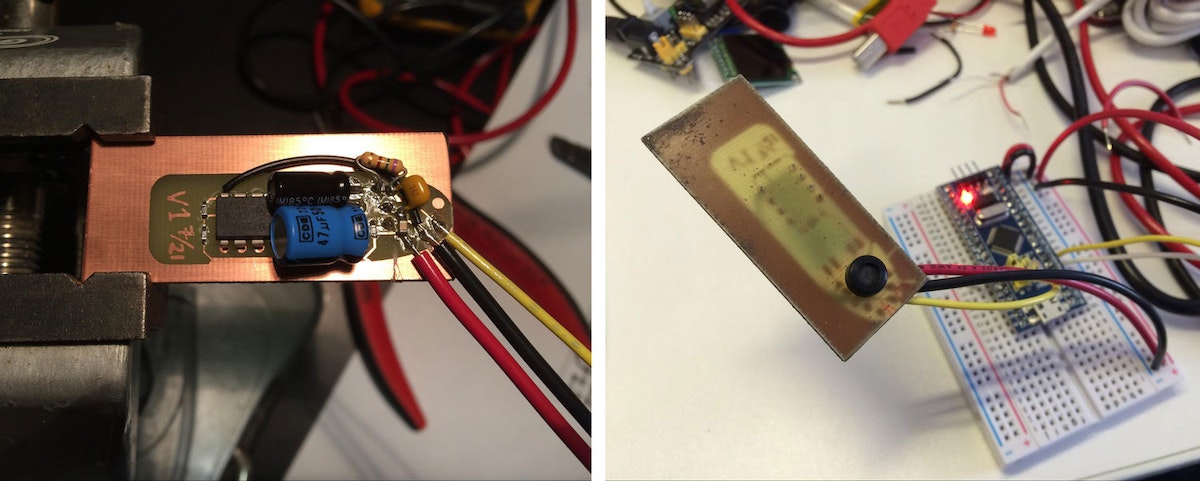
I built the microphone circuit to make sure it was configured properly before creating the printed circuit board (PCB). The circuit starts with the microphone to capture surrounding audio. Next, the signal from the microphone is amplified so that the microcontroller can receive a wider range of data from the ADC, which results in better definition from the Fourier transform. Lastly, the amplified signal goes through a low-pass filter to suppress any frequencies above 20,000 Hz that could interfere with the analysis.
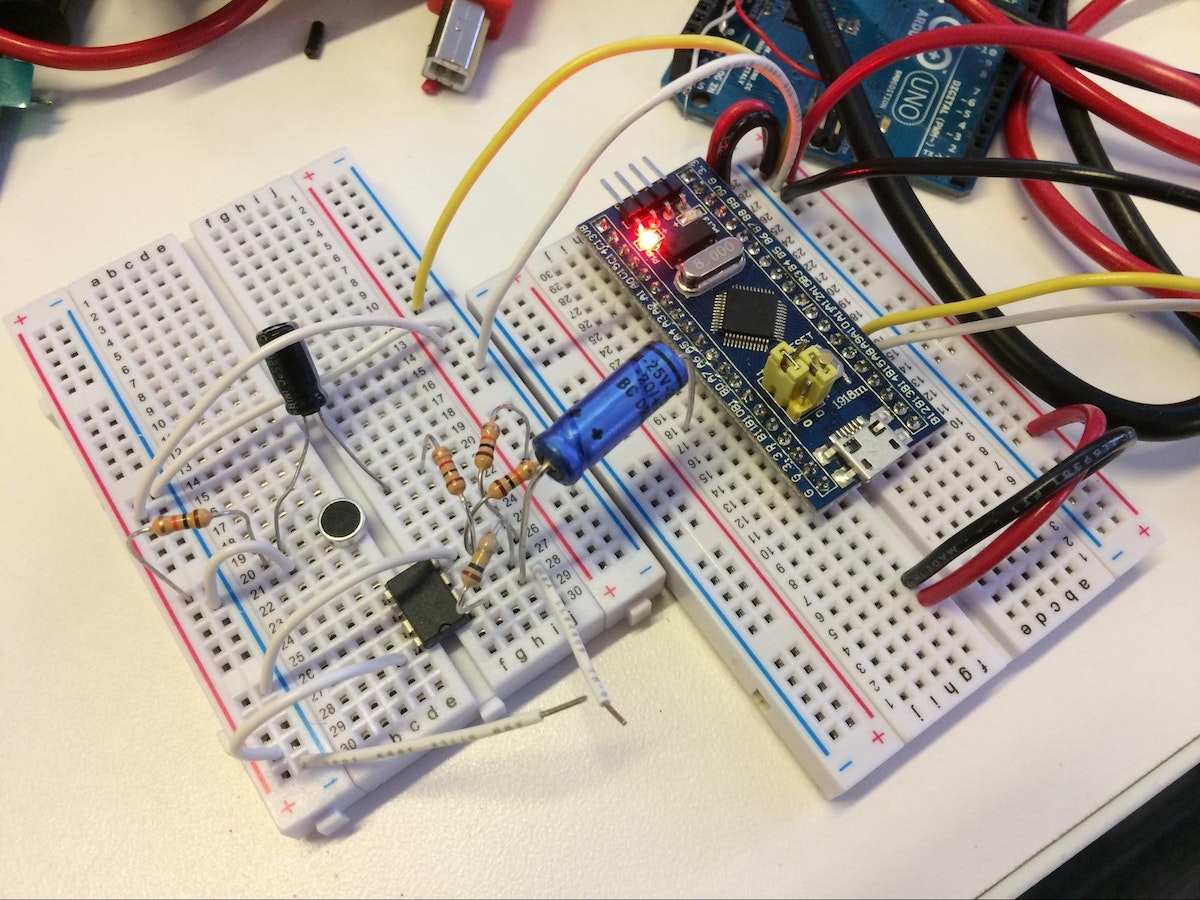
The greatest challenge during this stage was implementing the DFT on the STM32 microcontroller. Thankfully, there is an algorithm called the fast Fourier transform (FFT) that speeds up the computation for the DFT, but it's still a complex and time consuming calculation. Performing the FFT and then updating the display is a time-sensitive task. If the display is updated too slowly, it will look choppy and less responsive. Luckily, I came across a library developed by STMicroelectronics that was already optimized to work with my specific microcontroller.
Circuit Board Design
One of my biggest hurdles in designing the PCB was board size. I didn’t know the exact size of the Bender Badge, but I attempted to scale everything based on the buttons and the screen. From there, I figured out what size I wanted the circuit board to be so that it looked proportional to the badge. I was able to make the badge look like a cigar by adding silkscreen to the top layer (the label, paper edges, and ash at the end), and by cutting the PCB into a cigar shape.
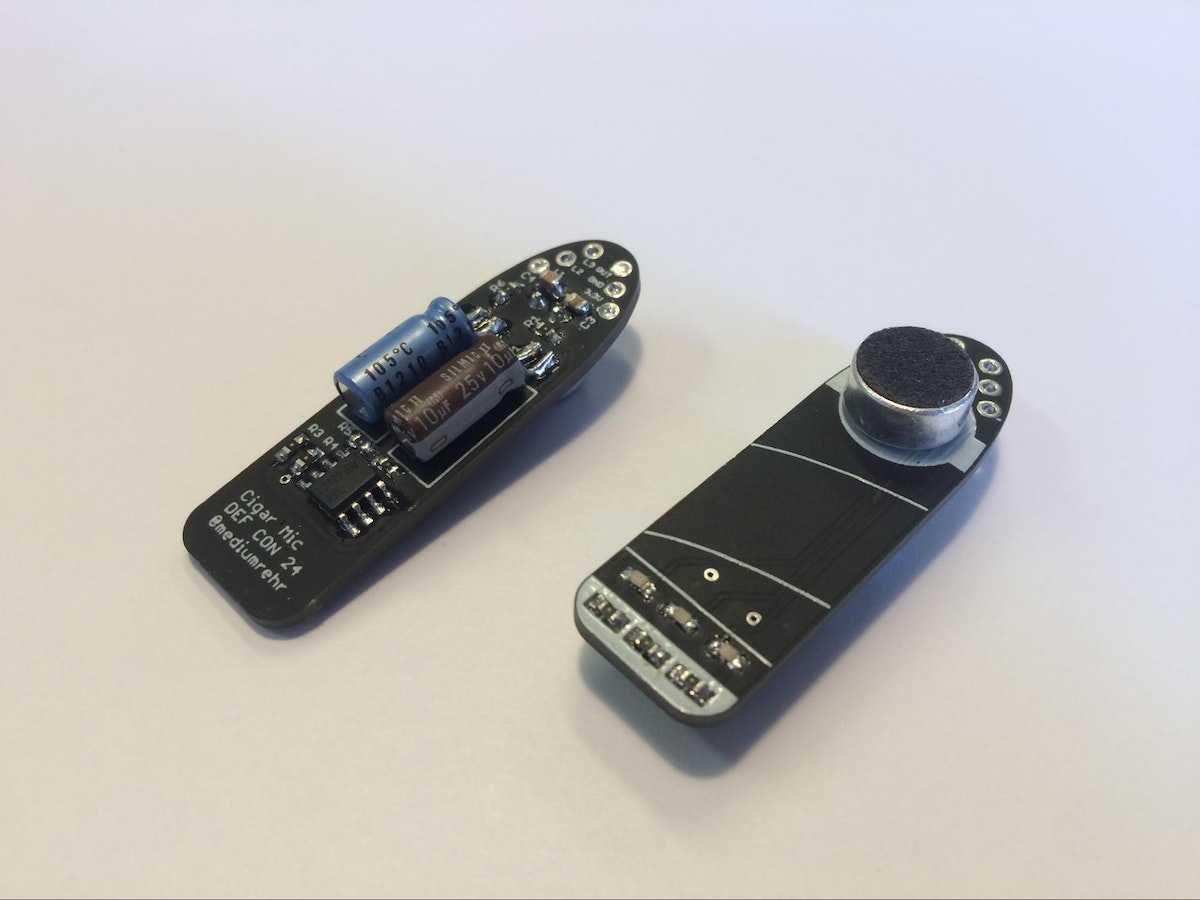
I placed most of the surface mount parts on the bottom of the circuit board to keep them hidden. The microphone stayed on the top layer to efficiently capture surrounding audio. (It also fit nicely as part of the cigar label.) I also added orange LED "ash" to the end of the top layer to make it look like the cigar was lit. These LEDs were meant to be triggered by acoustic activity, so that they would flicker and look more like embers than a solid light.
Firmware Finalizing
Two weeks before DEF CON was set to start, I submitted the PCB design for fabrication, and I created a prototype of the board. The majority of the leftover work involved converting the FFT output into something that could be shown on the display. The FFT outputs an array of frequency groupings, known as bins, where the size of a bin (or frequency grouping) is based on the audio sampling rate and size of the FFT. The bin size can be thought of as the output resolution of the FFT, and for the cigar mic the bins are about 39 Hz (40,000 Hz/1024) wide. Bins are important because they contain information on the amplitude of frequencies within each group. If the cigar mic does not pick up any surrounding audio between 1-39 Hz (the first bin), the value for that bin will be close to zero; but if there is activity within that frequency range, there will be a value greater than zero relative to how loud that frequency source is.
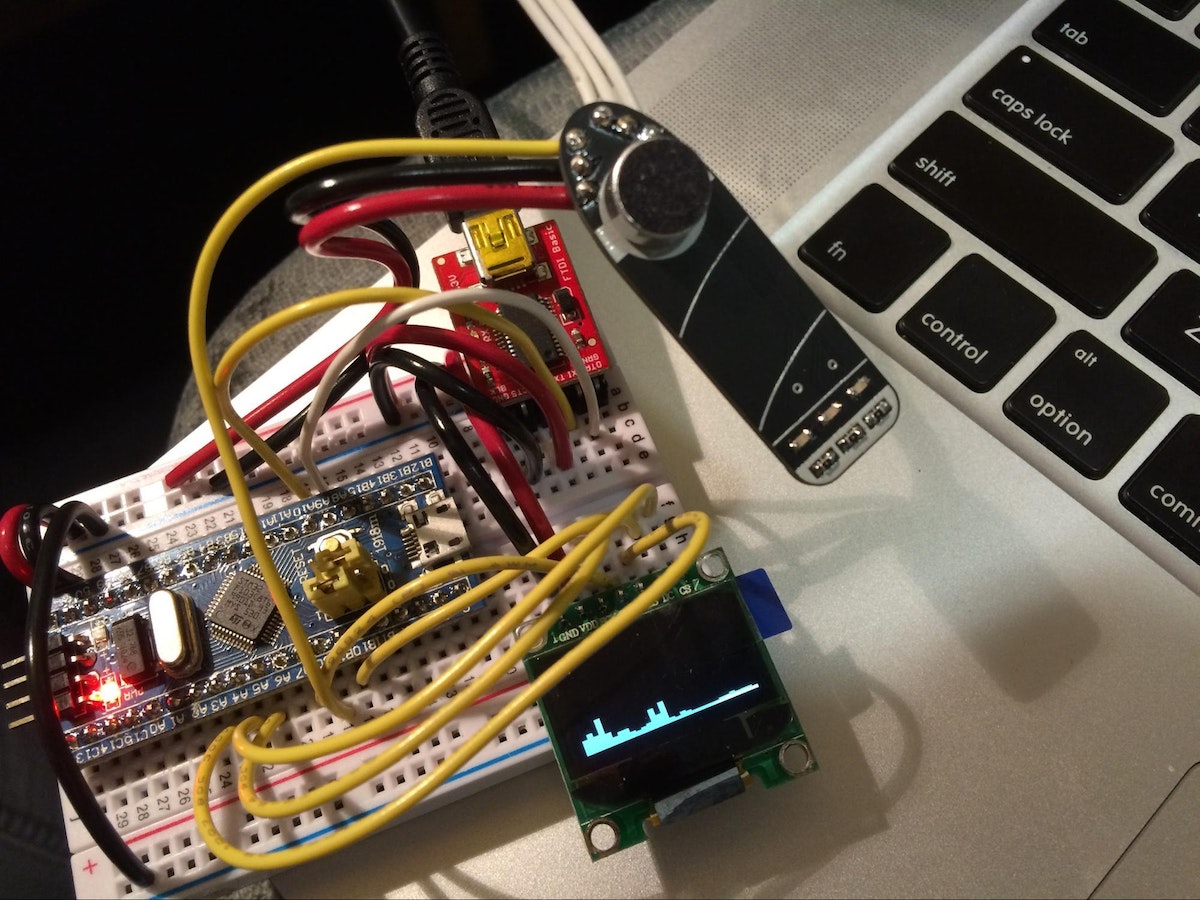
The FFT bins are grouped to create a bar graph that displays frequency data logarithmically (fewer bins grouped together at lower frequencies, and more bins grouped together at higher frequencies) in an effort to resemble human hearing. The display consists of 32 individual bars that are 4 pixels wide.
Assembly and Debugging
Once the circuit boards came back from fabrication, the first step was to assemble and test one. I connected the output of the PCB (the connection that sends the captured audio data to the microcontroller’s ADC) to an oscilloscope to see if the microphone was capturing audio and if the preamplifier was increasing the amplitude. I encountered two errors in my design. First, the microphone was incorrectly oriented, and second, I had flipped two pins on the preamplifier, which resulted in significant distortion. Both were easy fixes, but added extra time to the assembly process. As a result, I was working up until I got to DEF CON, and then some.

Shortly after I arrived in Vegas, I met up with the AND!XOR guys and showed them my addition. They loved it, and within a few hours, I had my cigar wired up, and my code running on their Bender Badge. It was awesome (and relieving) to see it all come together. Now I just have to figure out what to do for DEF CON 25.
If you want to learn more, check out my GitHub page for the project, which includes PCB files and badge firmware.
Words and art

Subscribe

.svg)


